Training a custom model
In this guide, we will walk you through training your own custom model.
Create a custom model
In the Portal under Expression Measurement, navigate to the Custom Models section. Once there, you can click Create Custom Model to begin.
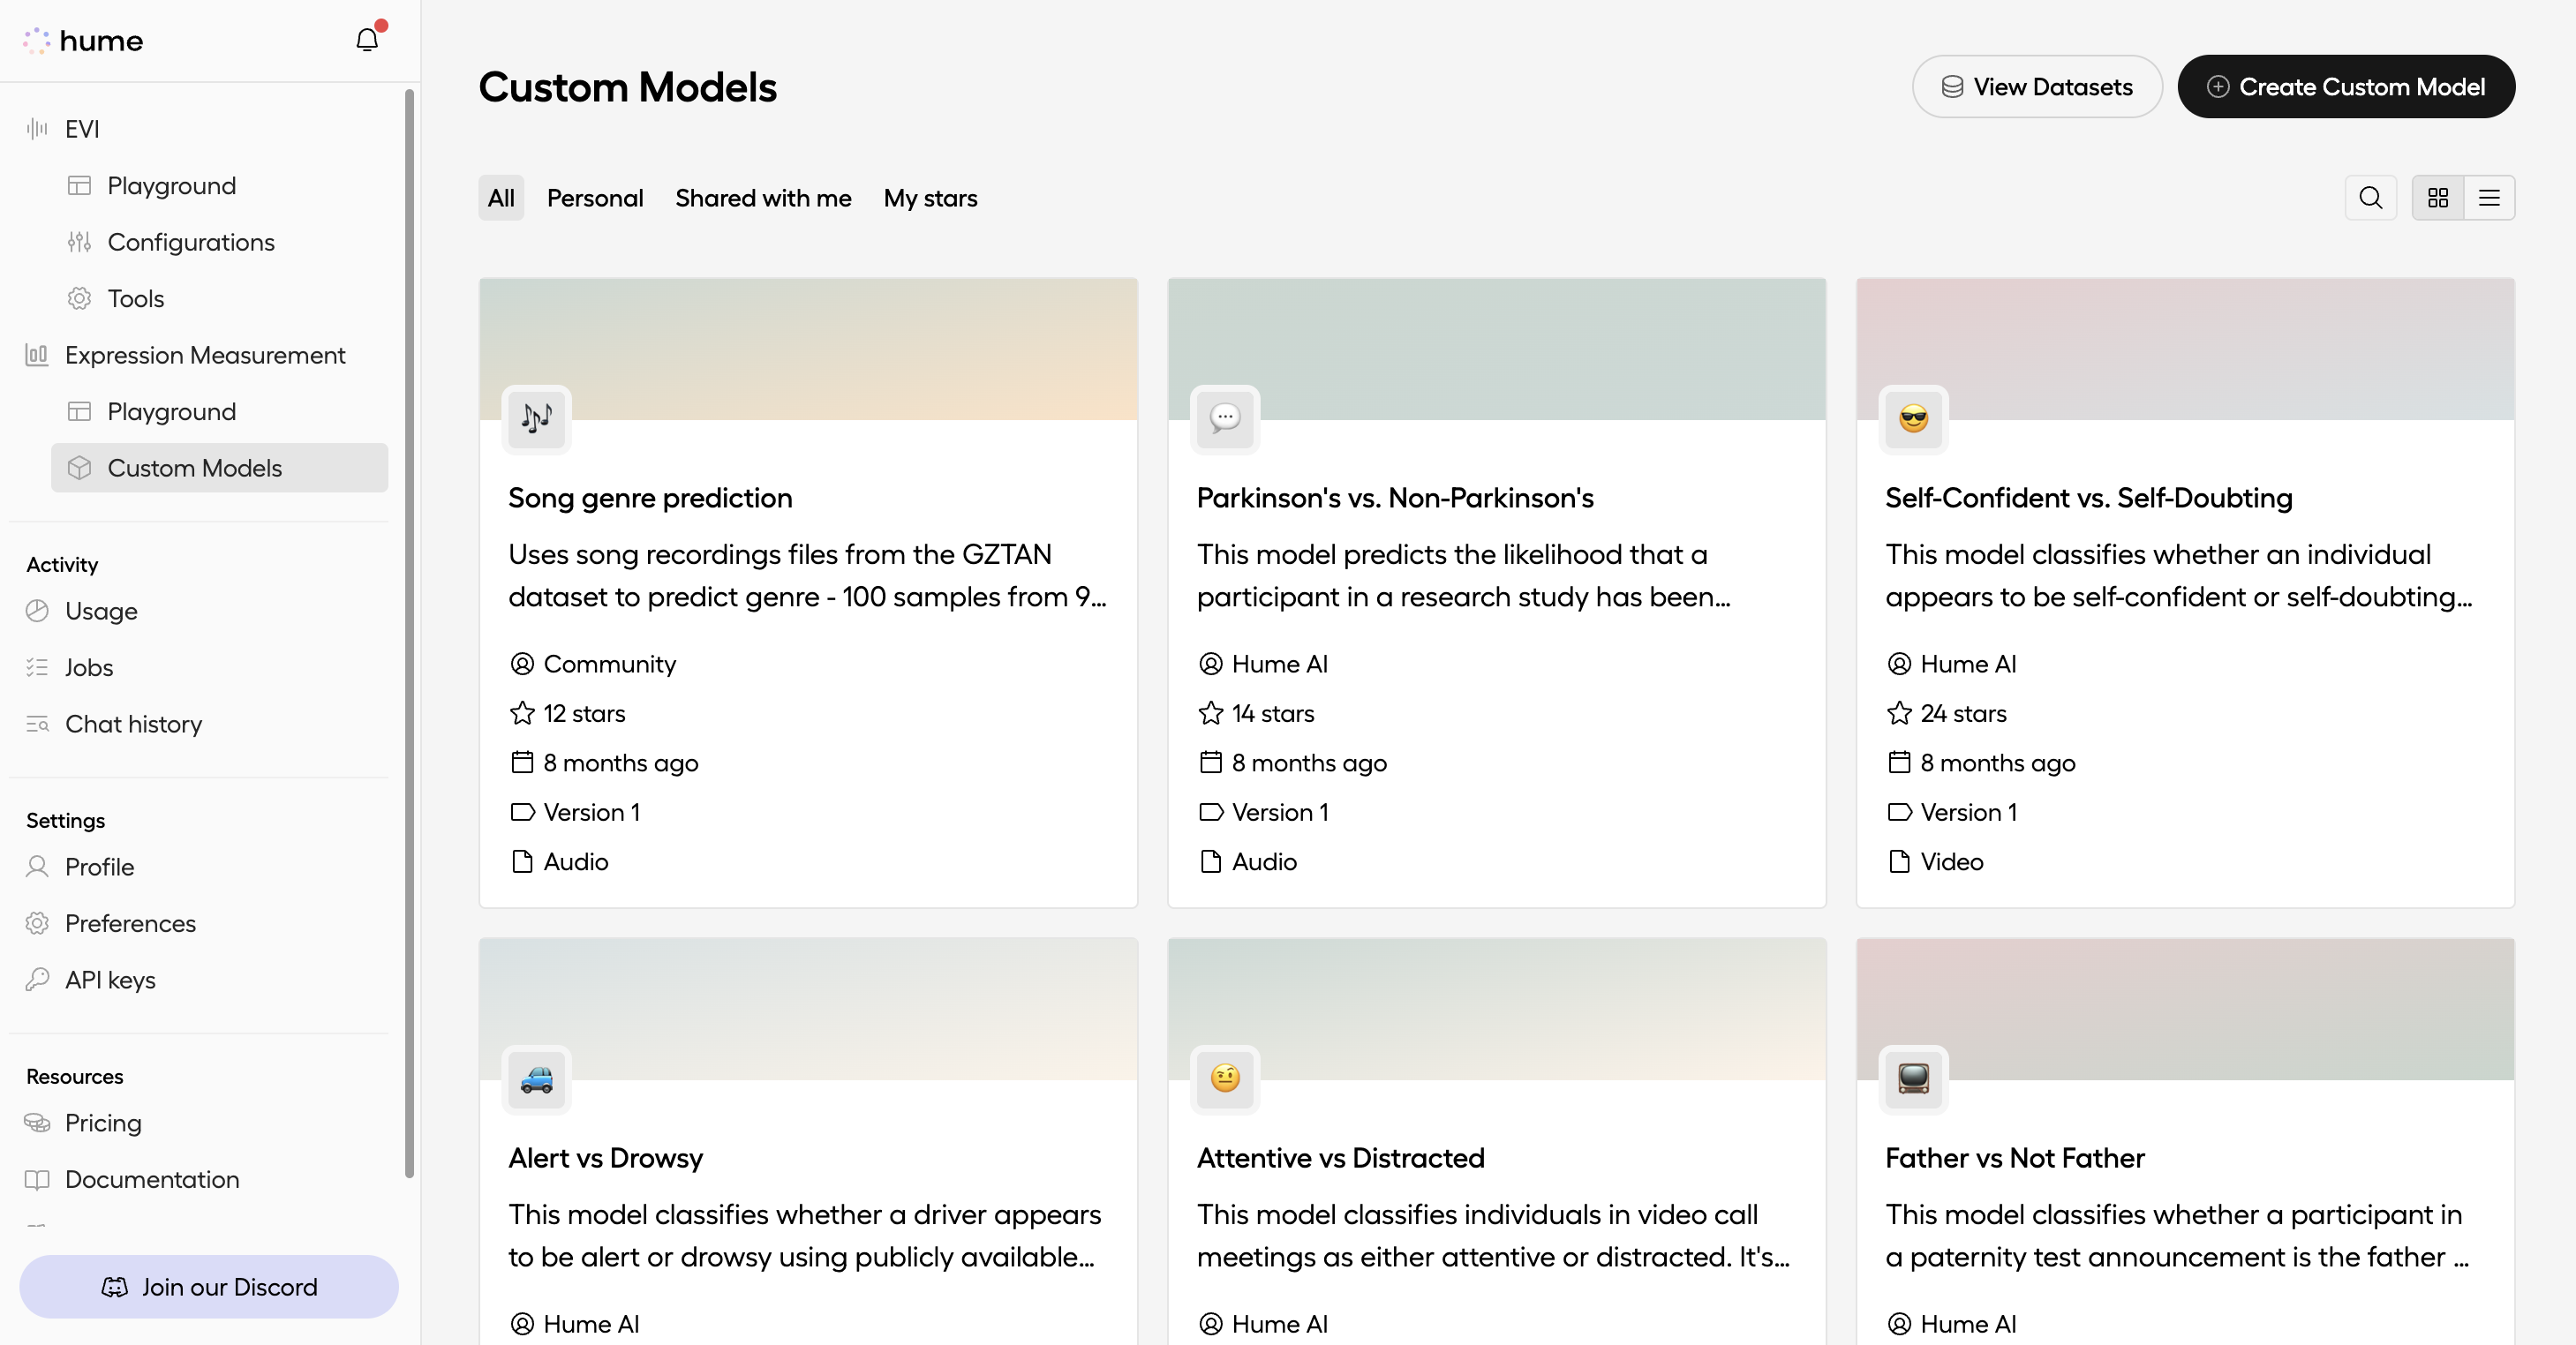
Select a training dataset
Select a dataset to train your custom model on. If you have not created one already, see our guide on creating your dataset.
For the purposes of this tutorial, we will train the model on a dataset of images labeled as negative, neutral, or positive. These labels will allow our model to classify facial expressions in images.
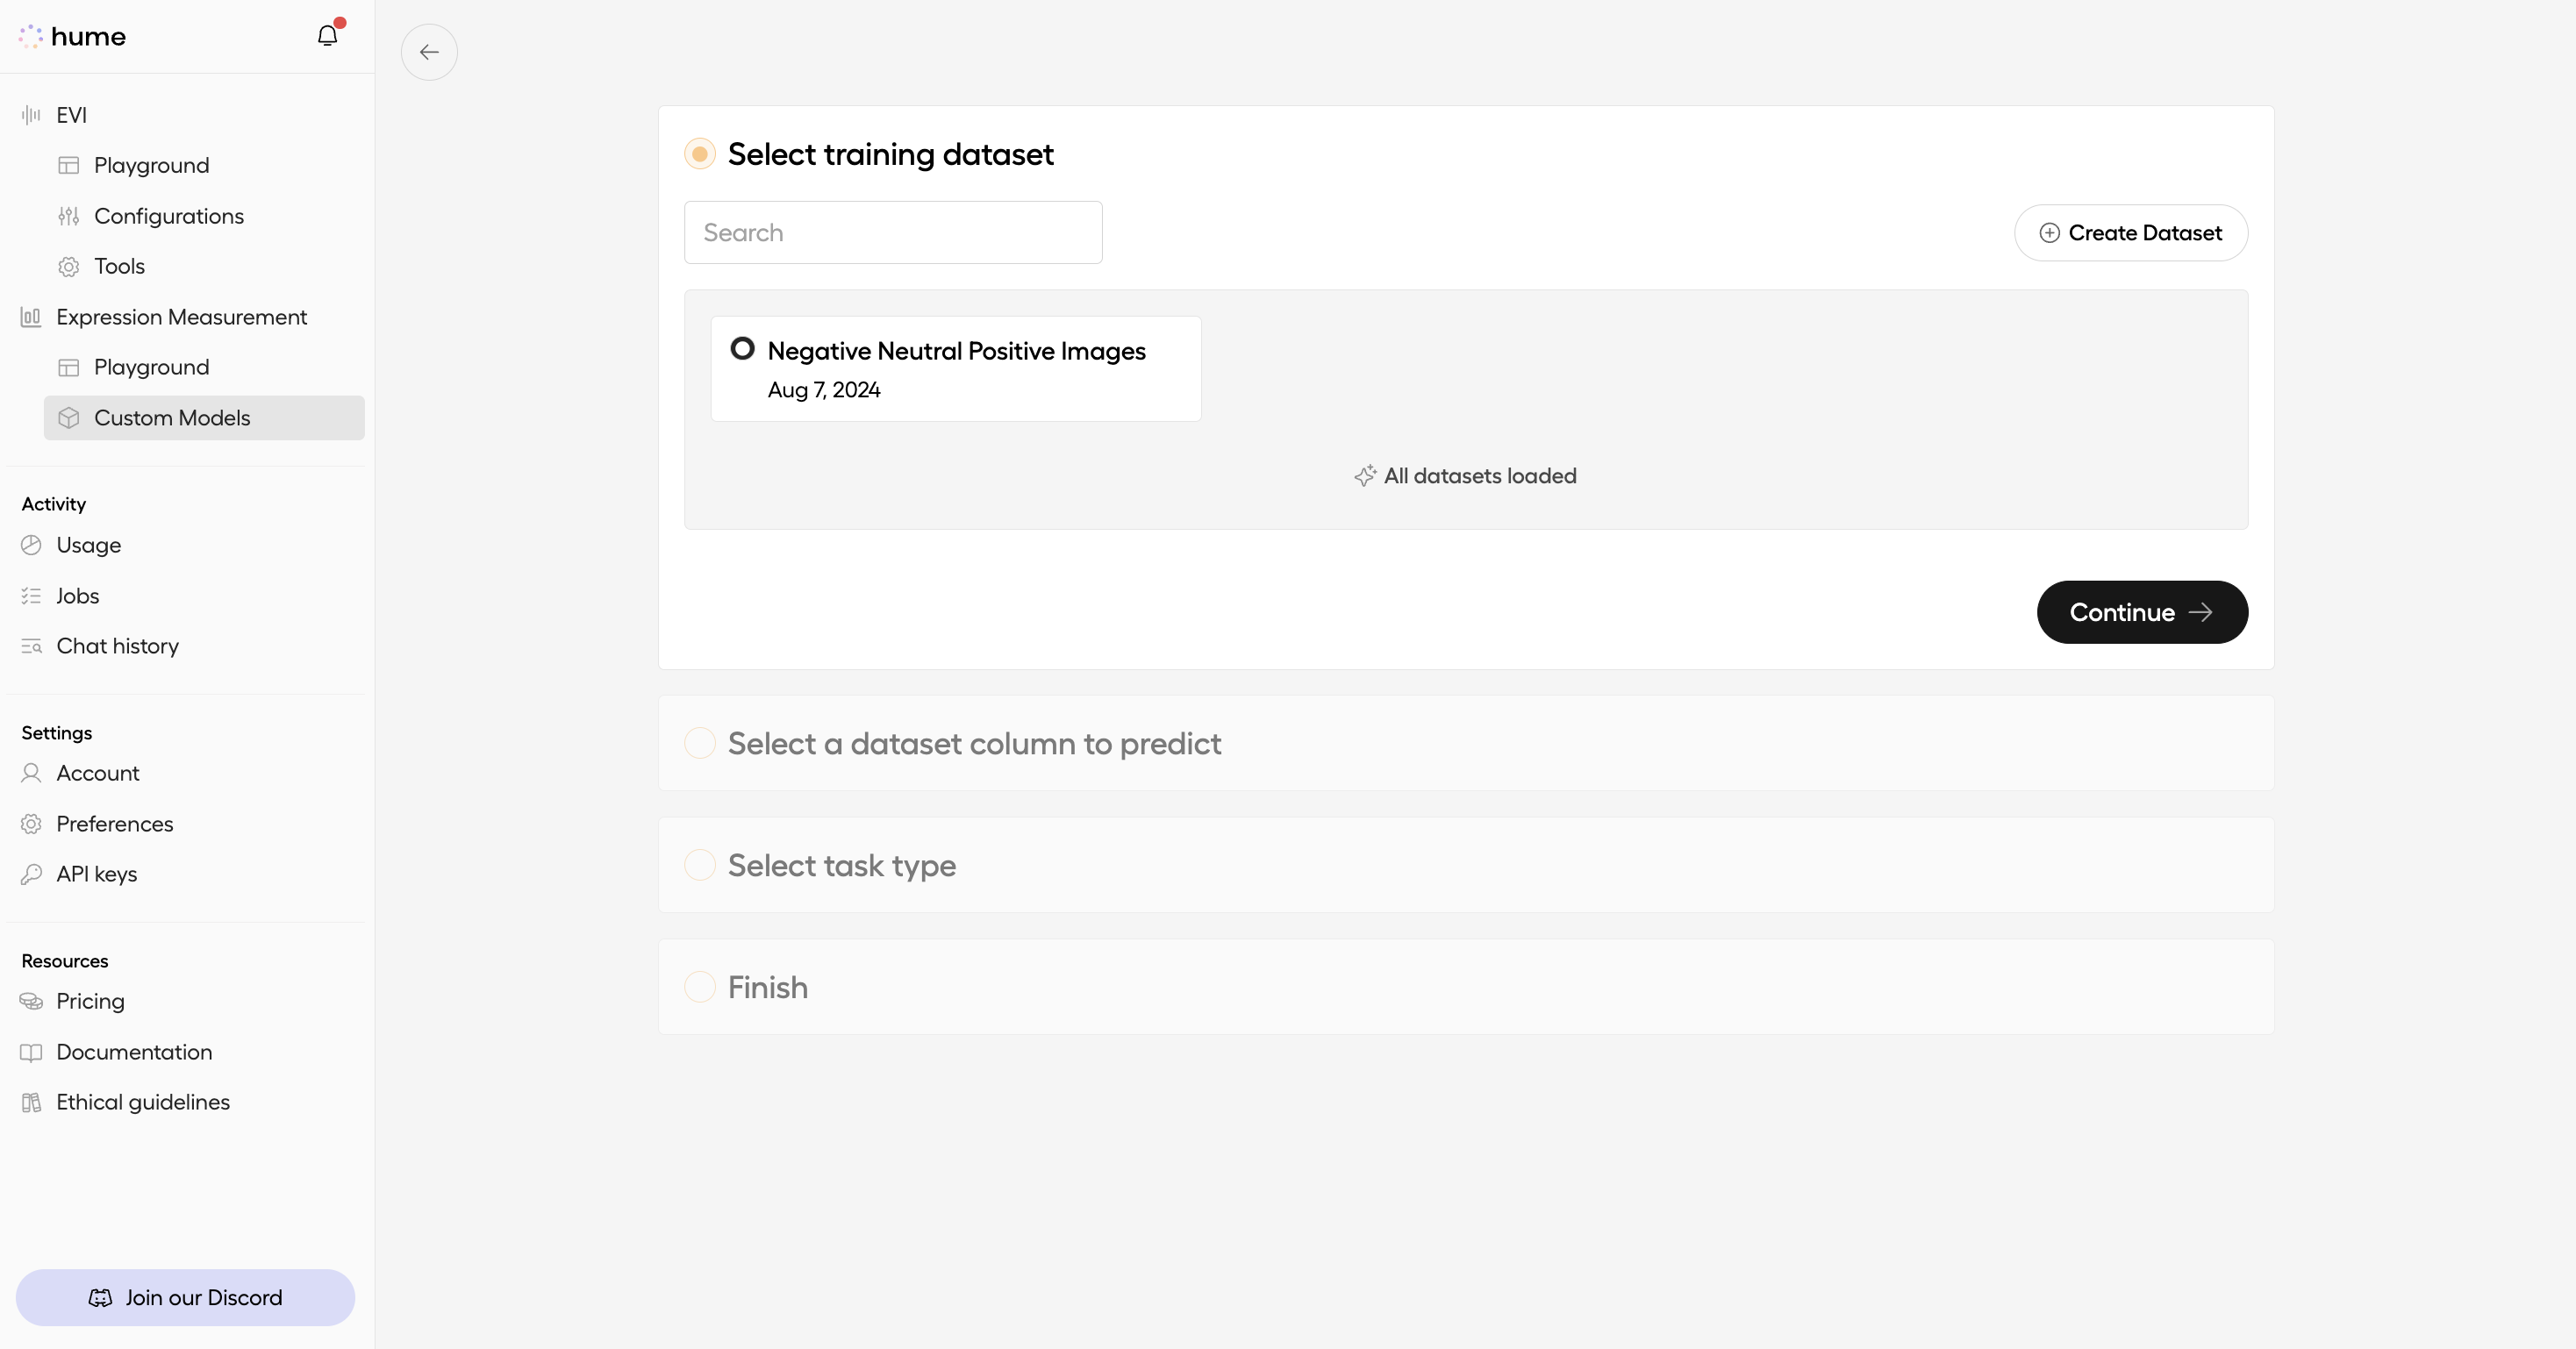
Select a dataset column to predict
Next, choose the dataset column you want to predict and hit Continue.
For this tutorial, you’ll select the ‘User Sentiment’ column, which represents the predicted emotional tone of each image. This column contains the labels ‘Negative’, ‘Neutral or Ambiguous,’ and ‘Positive.‘
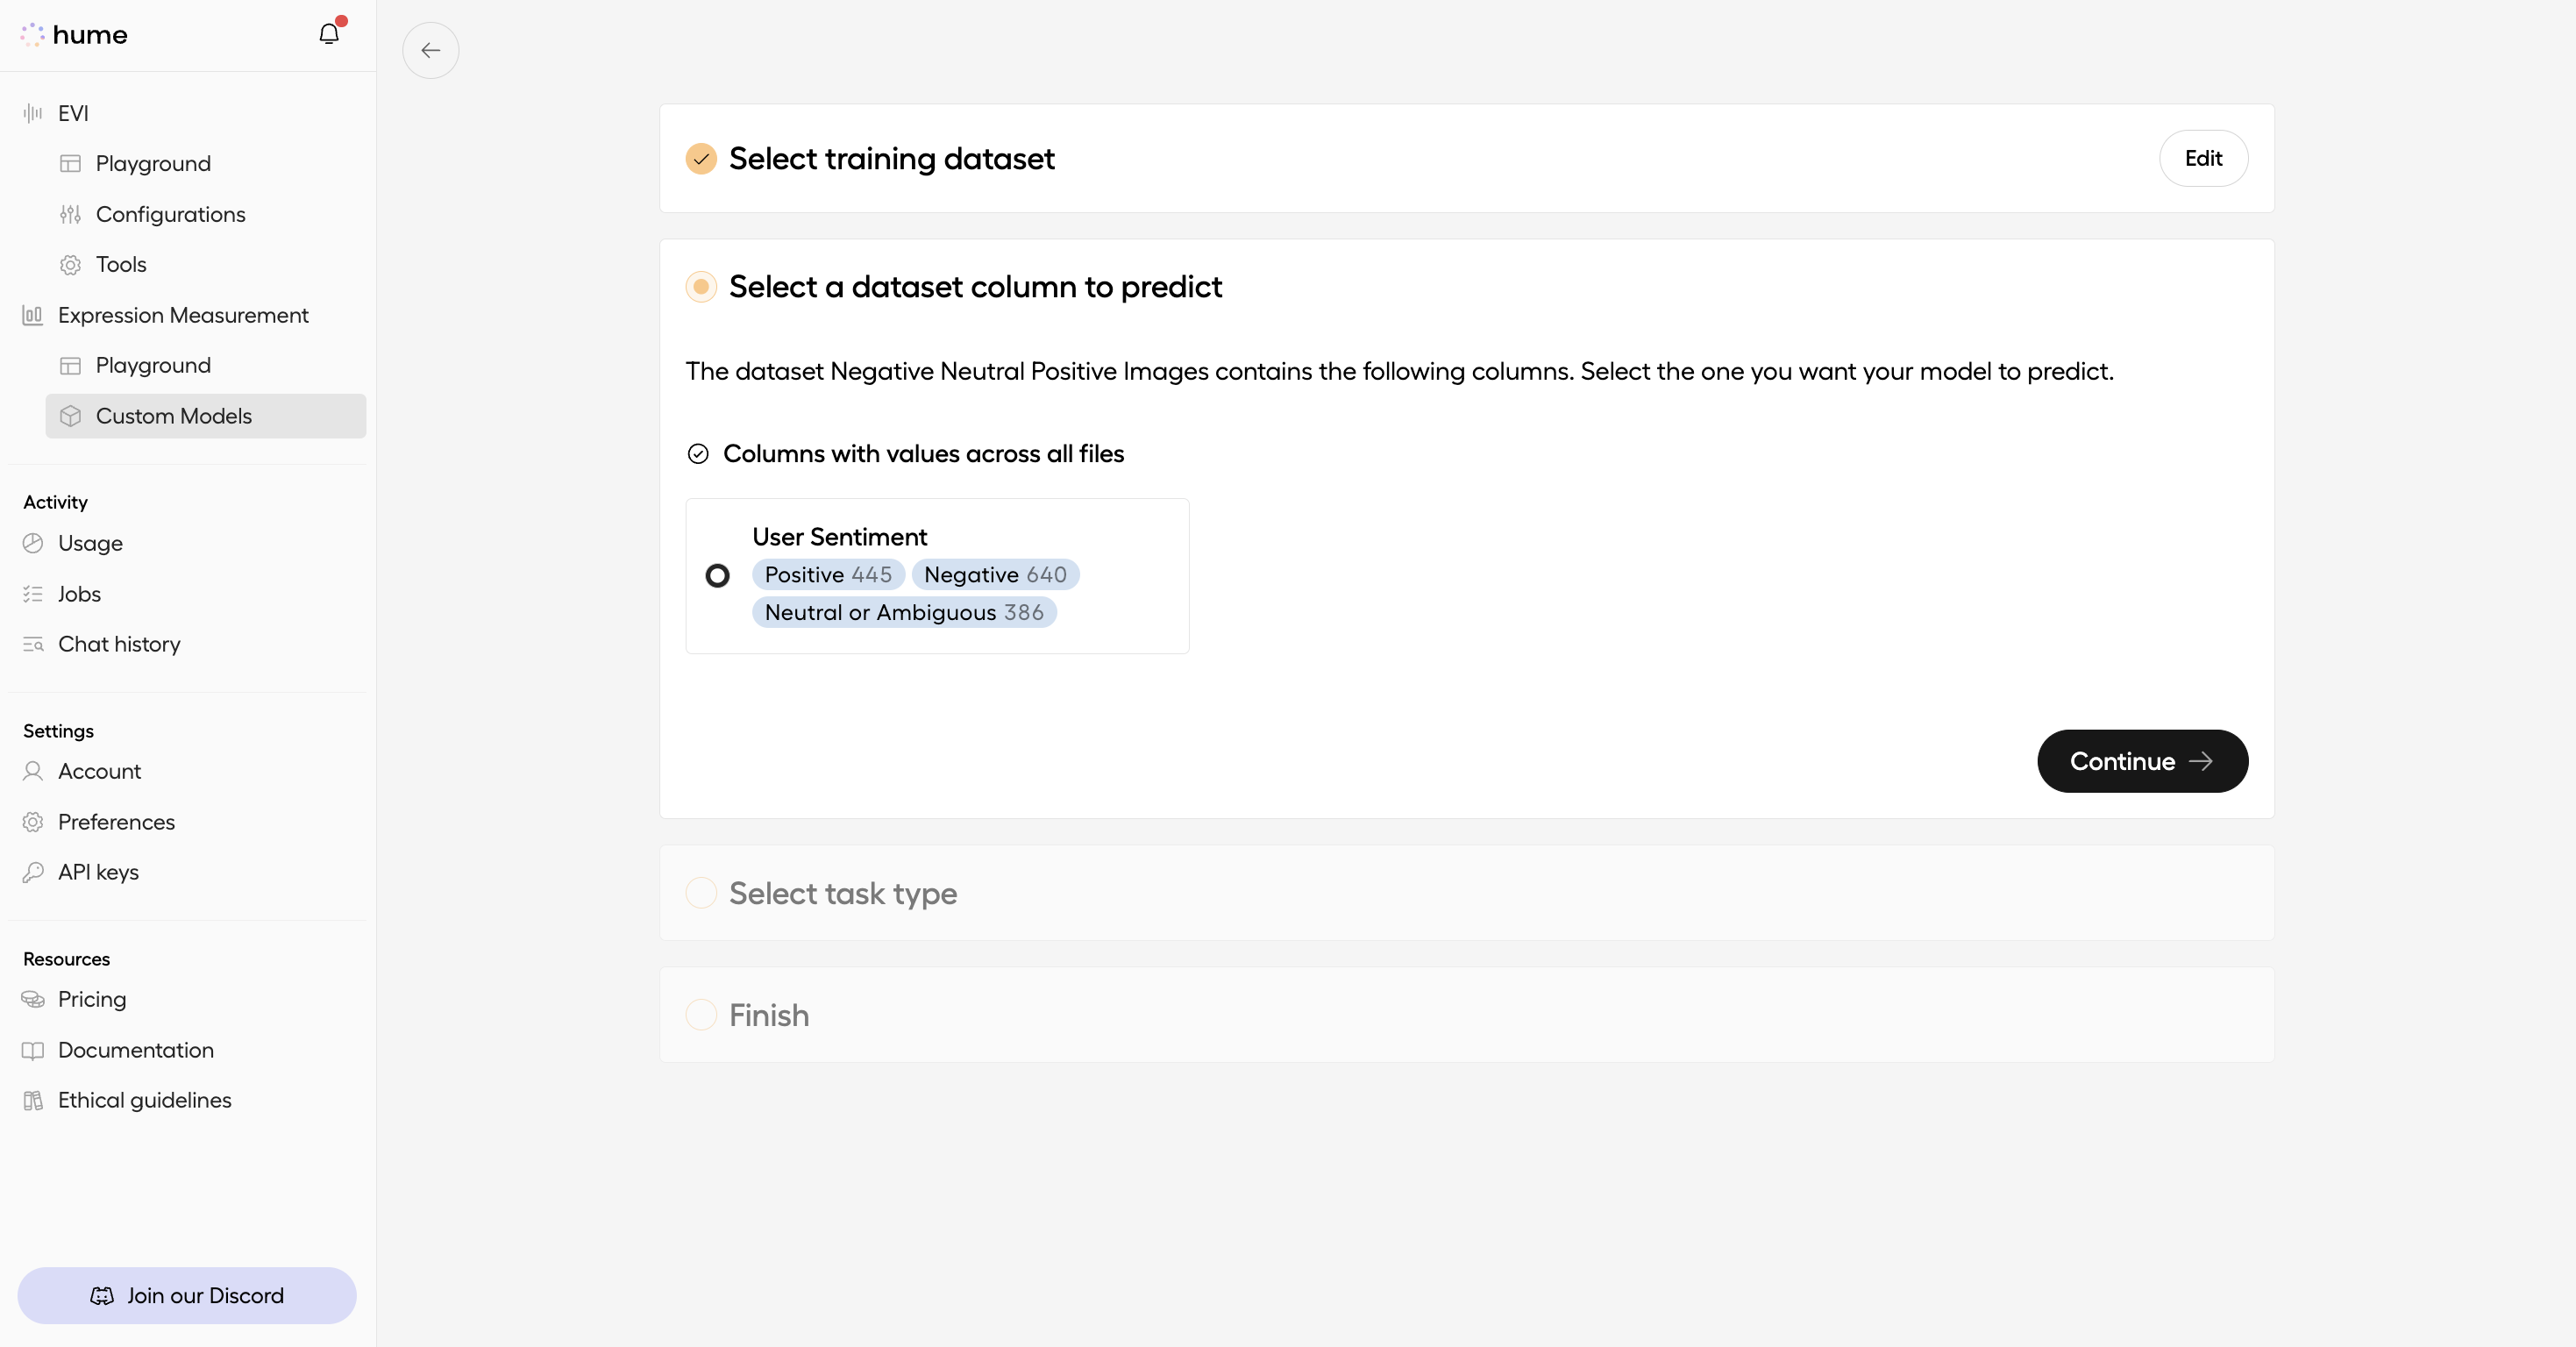
Select a task type
Based on your data, we’ll recommend either classification or regression as the task type for your custom model. Classification requires categorical label values like strings or integers, while regression requires numeric label values like integers or floats.
Then, select the specific type of model you want to create. There are three available model types:
- Multiclass classification: Predict a categorical variable where all labels are equal in importance (e.g. “sunny”, “rainy”, “cloudy”)
- Binary classification: Predict a categorical variable where a designated positive label is the “correct” label in some way (e.g. “good” vs. “bad” customer service call)
- Univariate regression: Predict a single continuous value (e.g. how hot will it be tomorrow?)
For more information, see our FAQ on the difference between classification and regression.
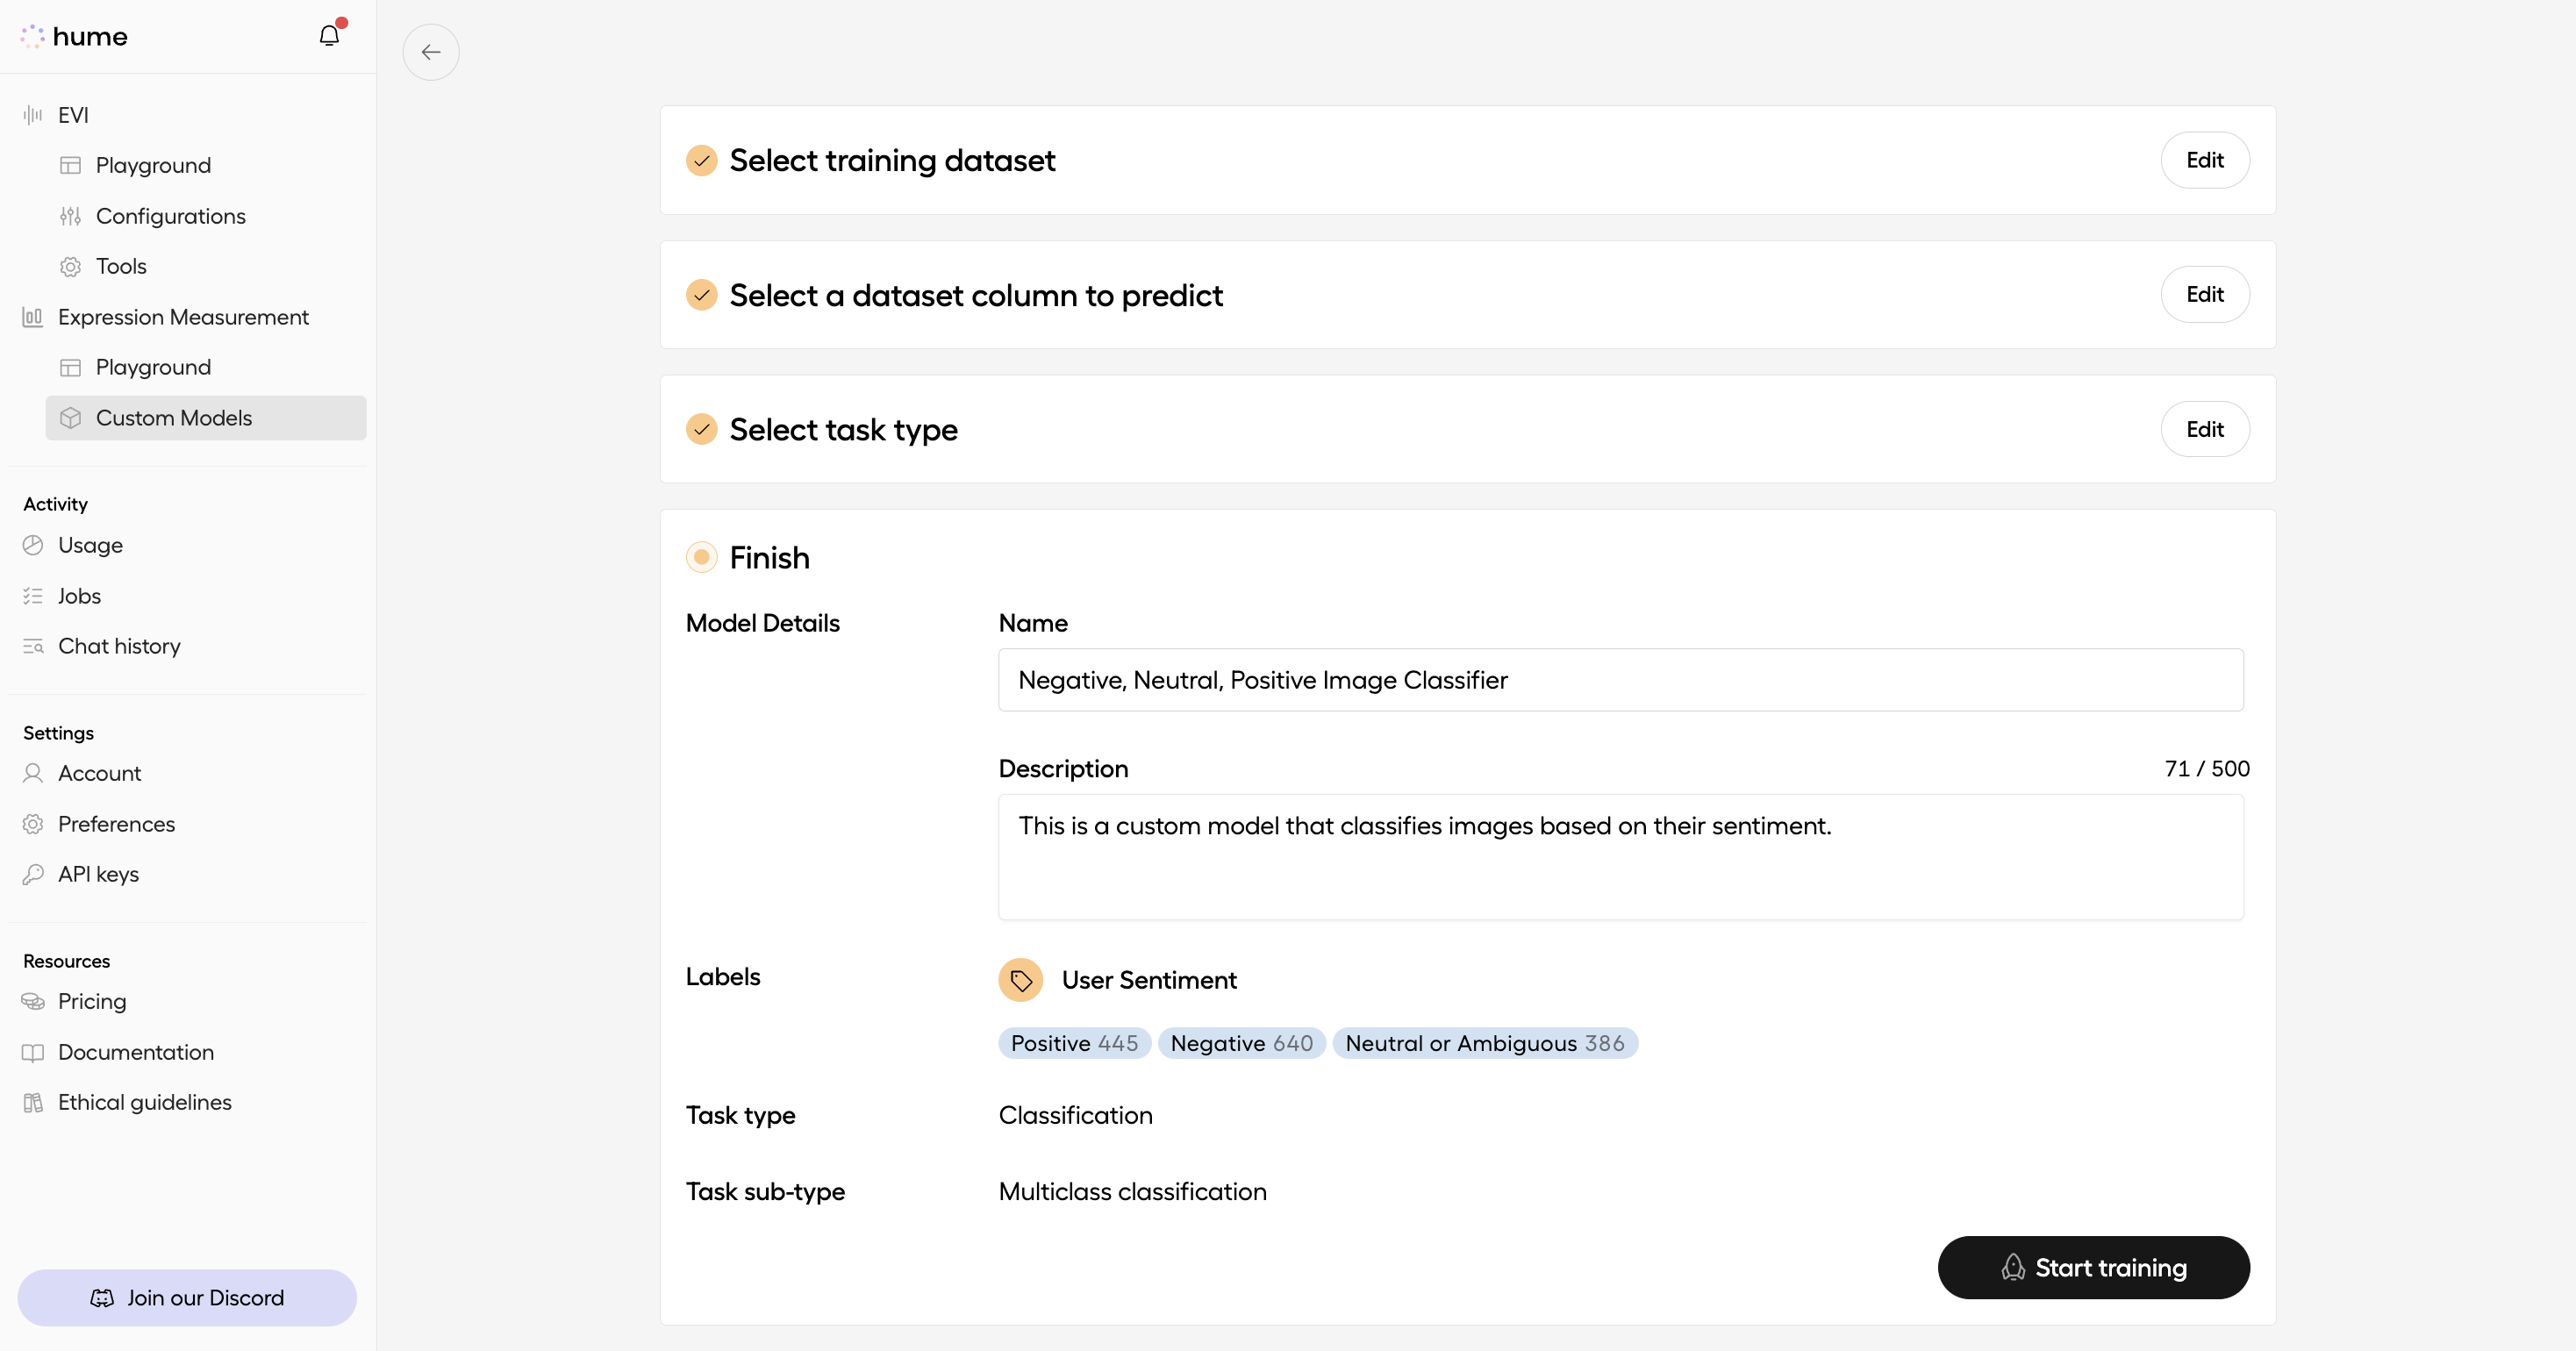
Since our dataset contains multiple sentiment labels, we’ll select Multiclass classification for this tutorial. This type of model is best suited for predicting categorical variables where each label is equally important.
Finalize your custom model
To finish, enter a name and description for your custom model. If needed, these can be adjusted at a later time. Once you’re ready, click Start Training to begin the training process.
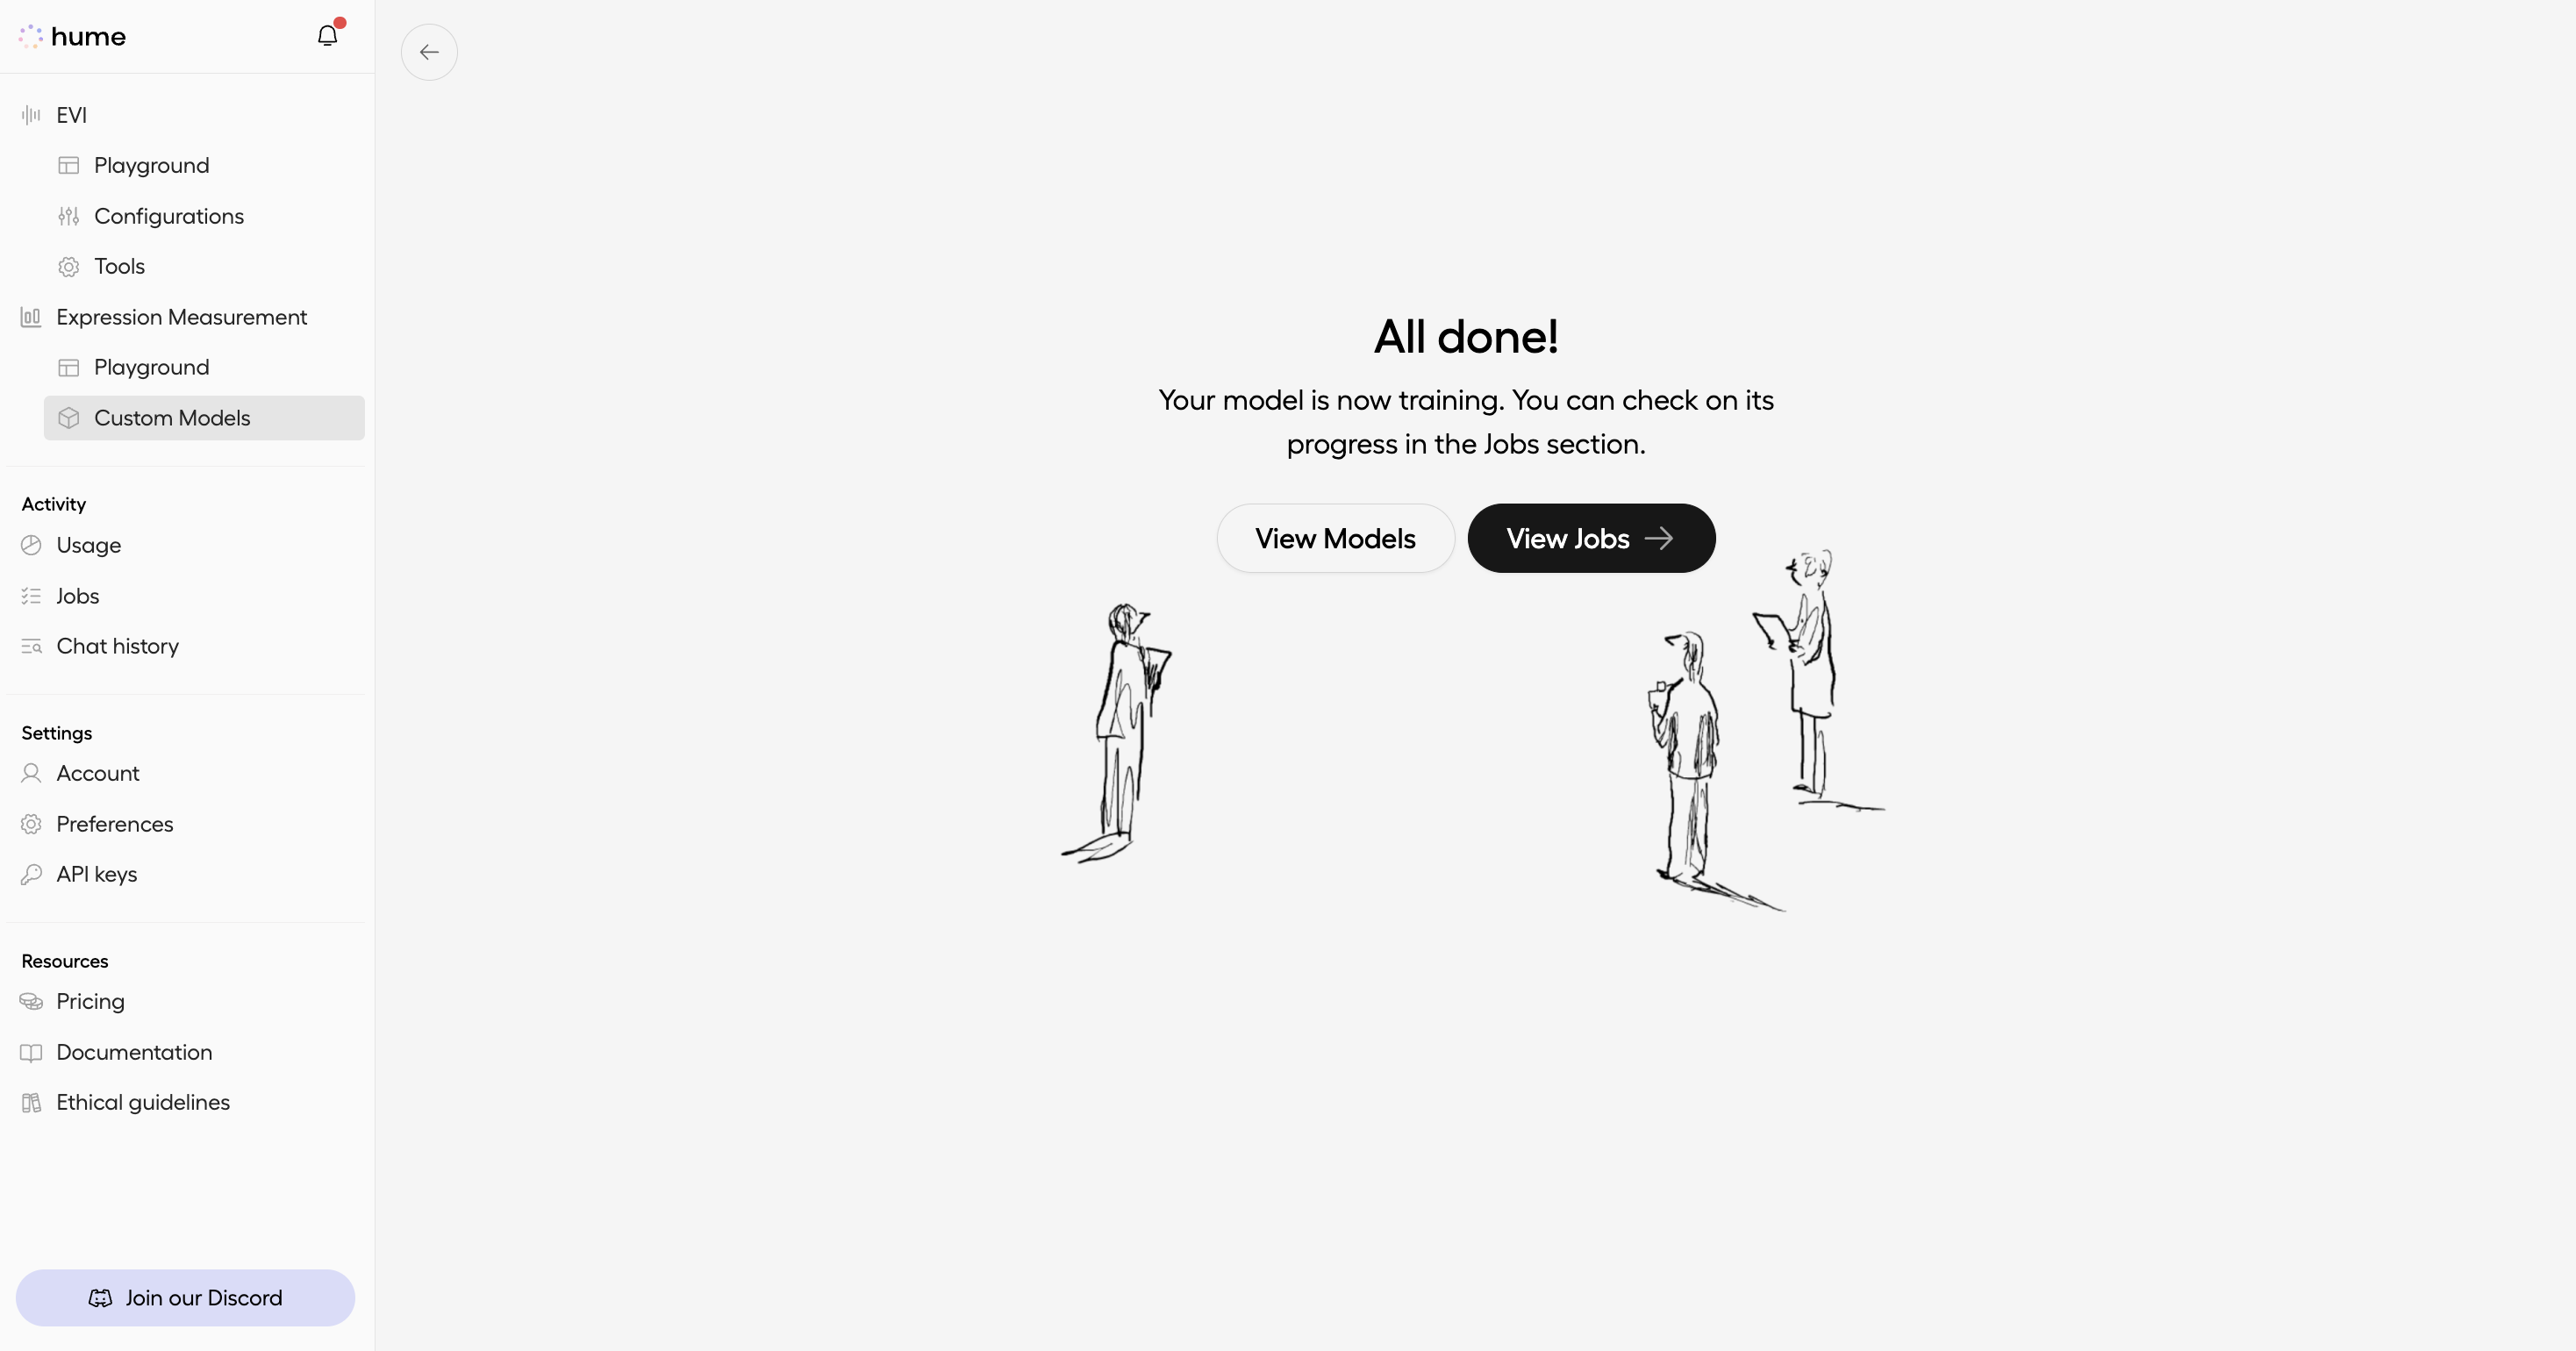
You will then be redirected to a page confirming that your model is actively training. To check on the status of your model, click View Jobs. To see existing, finished models, click View Models.
Check the status of your training job
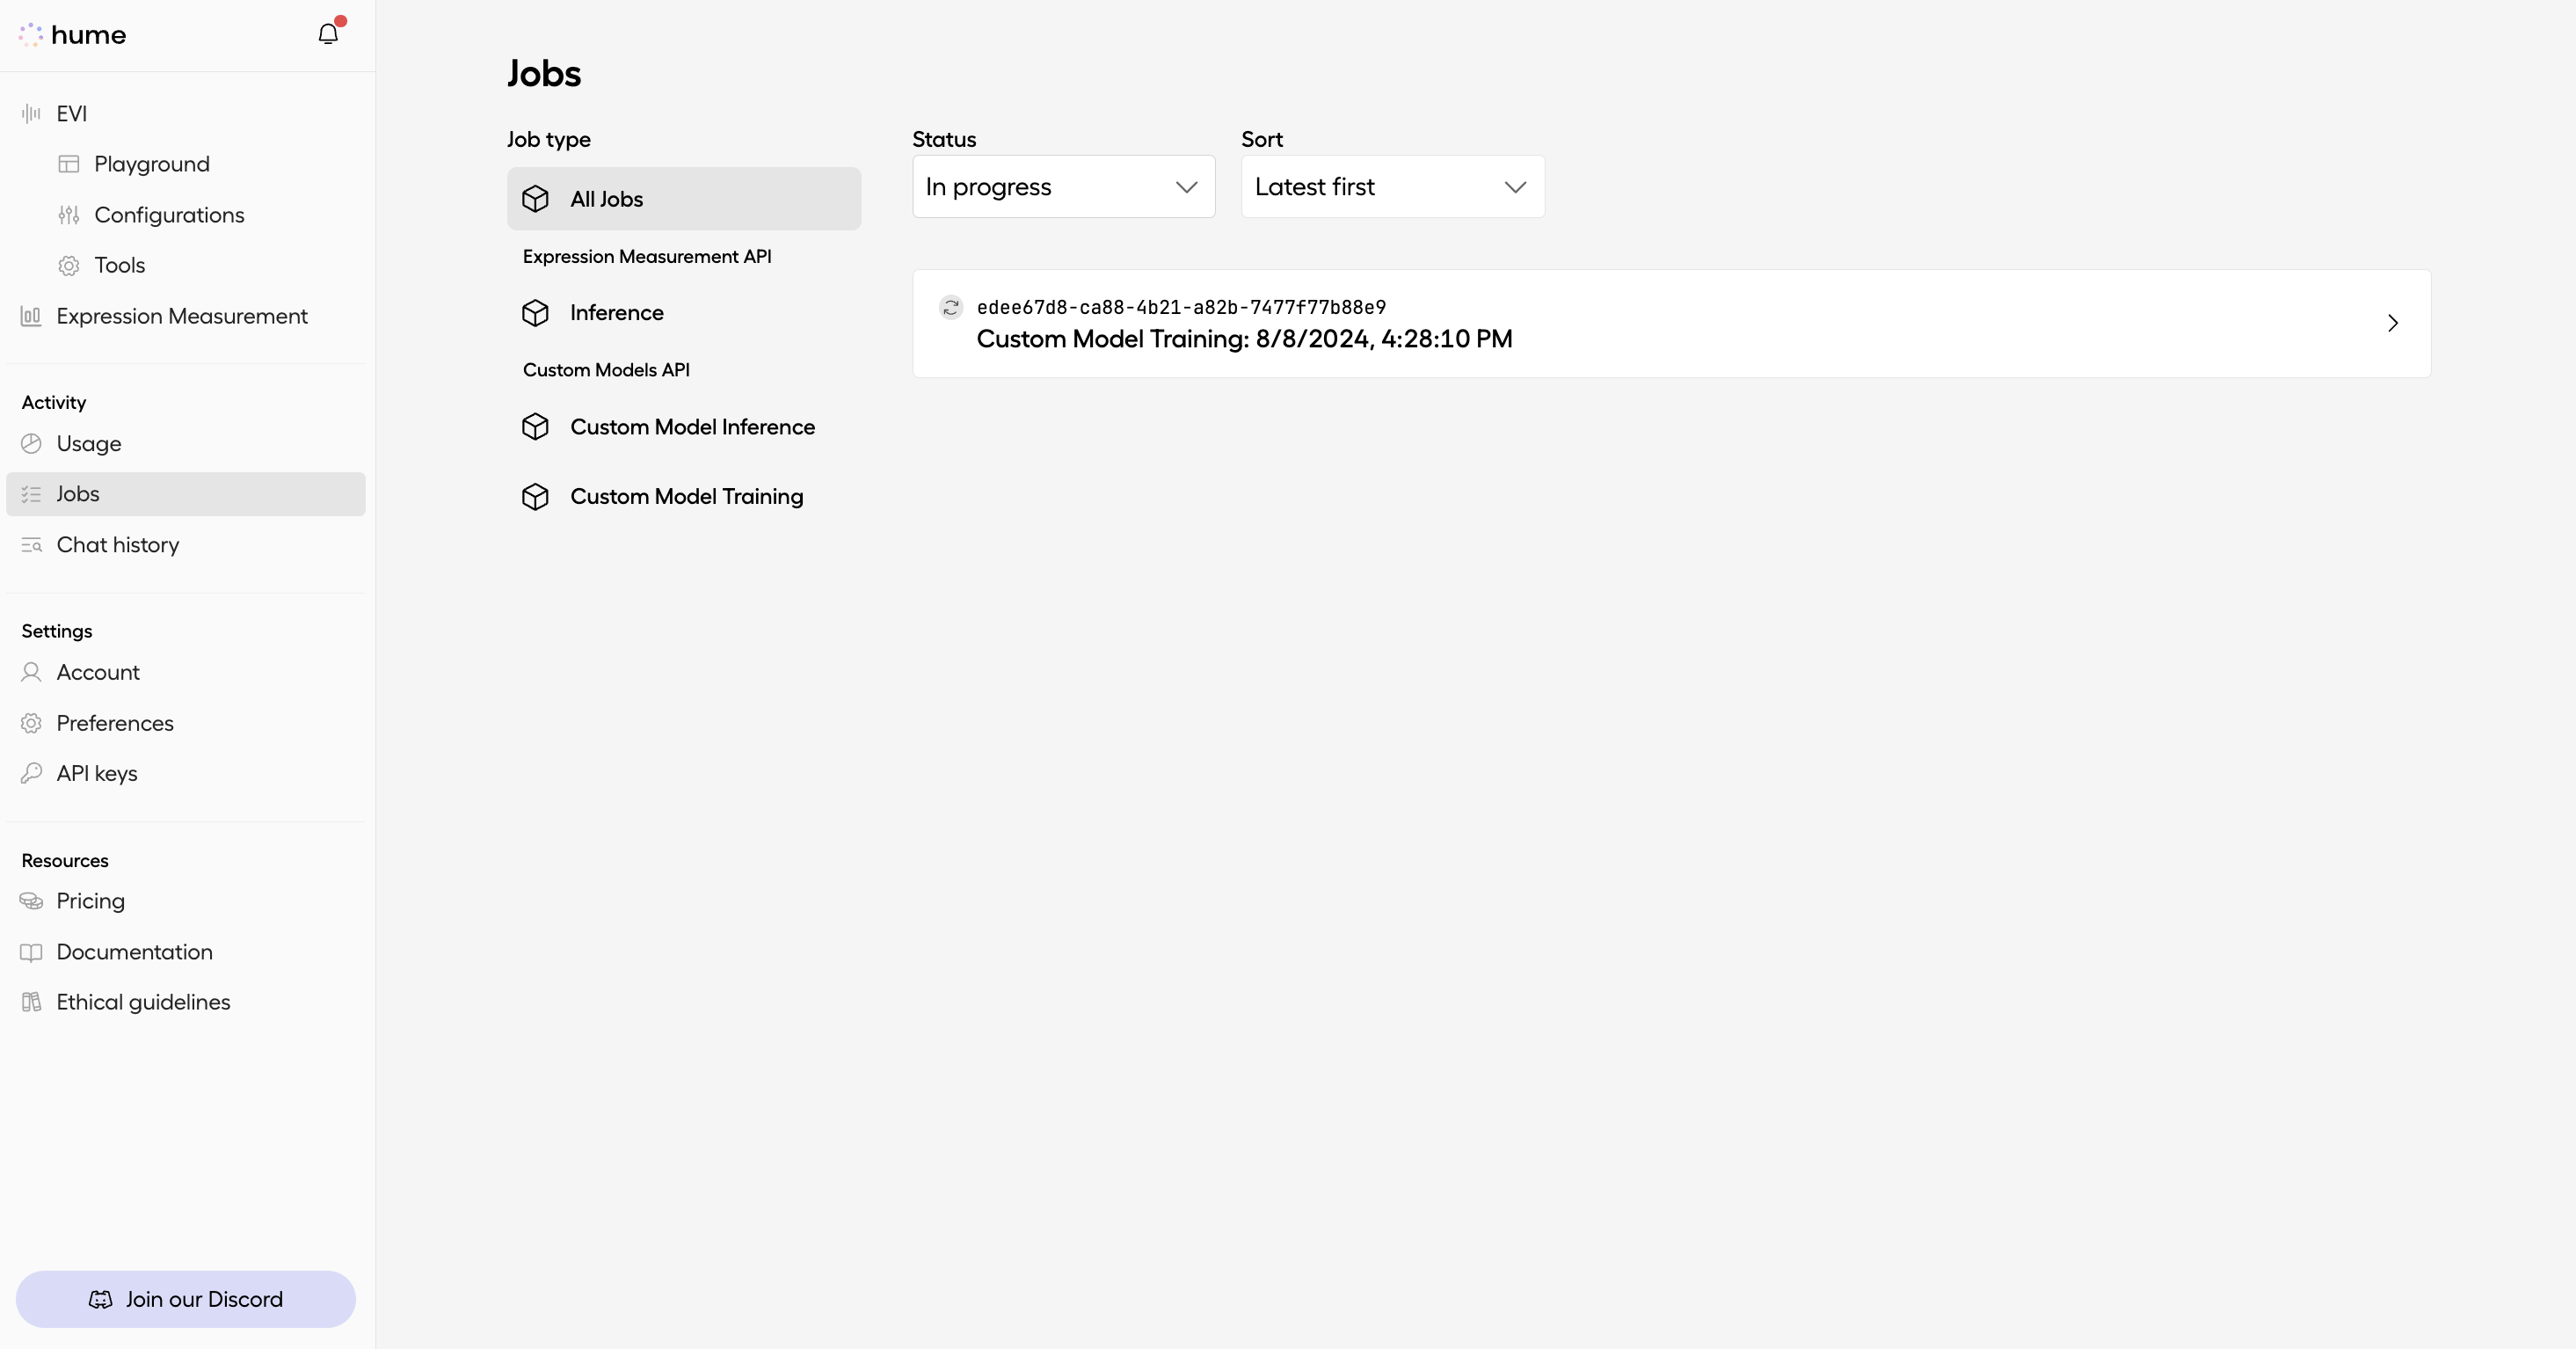
You can check the status of your model in the Jobs page of our Portal.
It may take a few minutes for your custom model to be ready. Once training is complete, the status will update to “Completed,” and you’ll have access to your custom model.
Test your custom model
When you’re ready to test your custom model, navigate to the Expression Measurement page, then go to File Analysis.
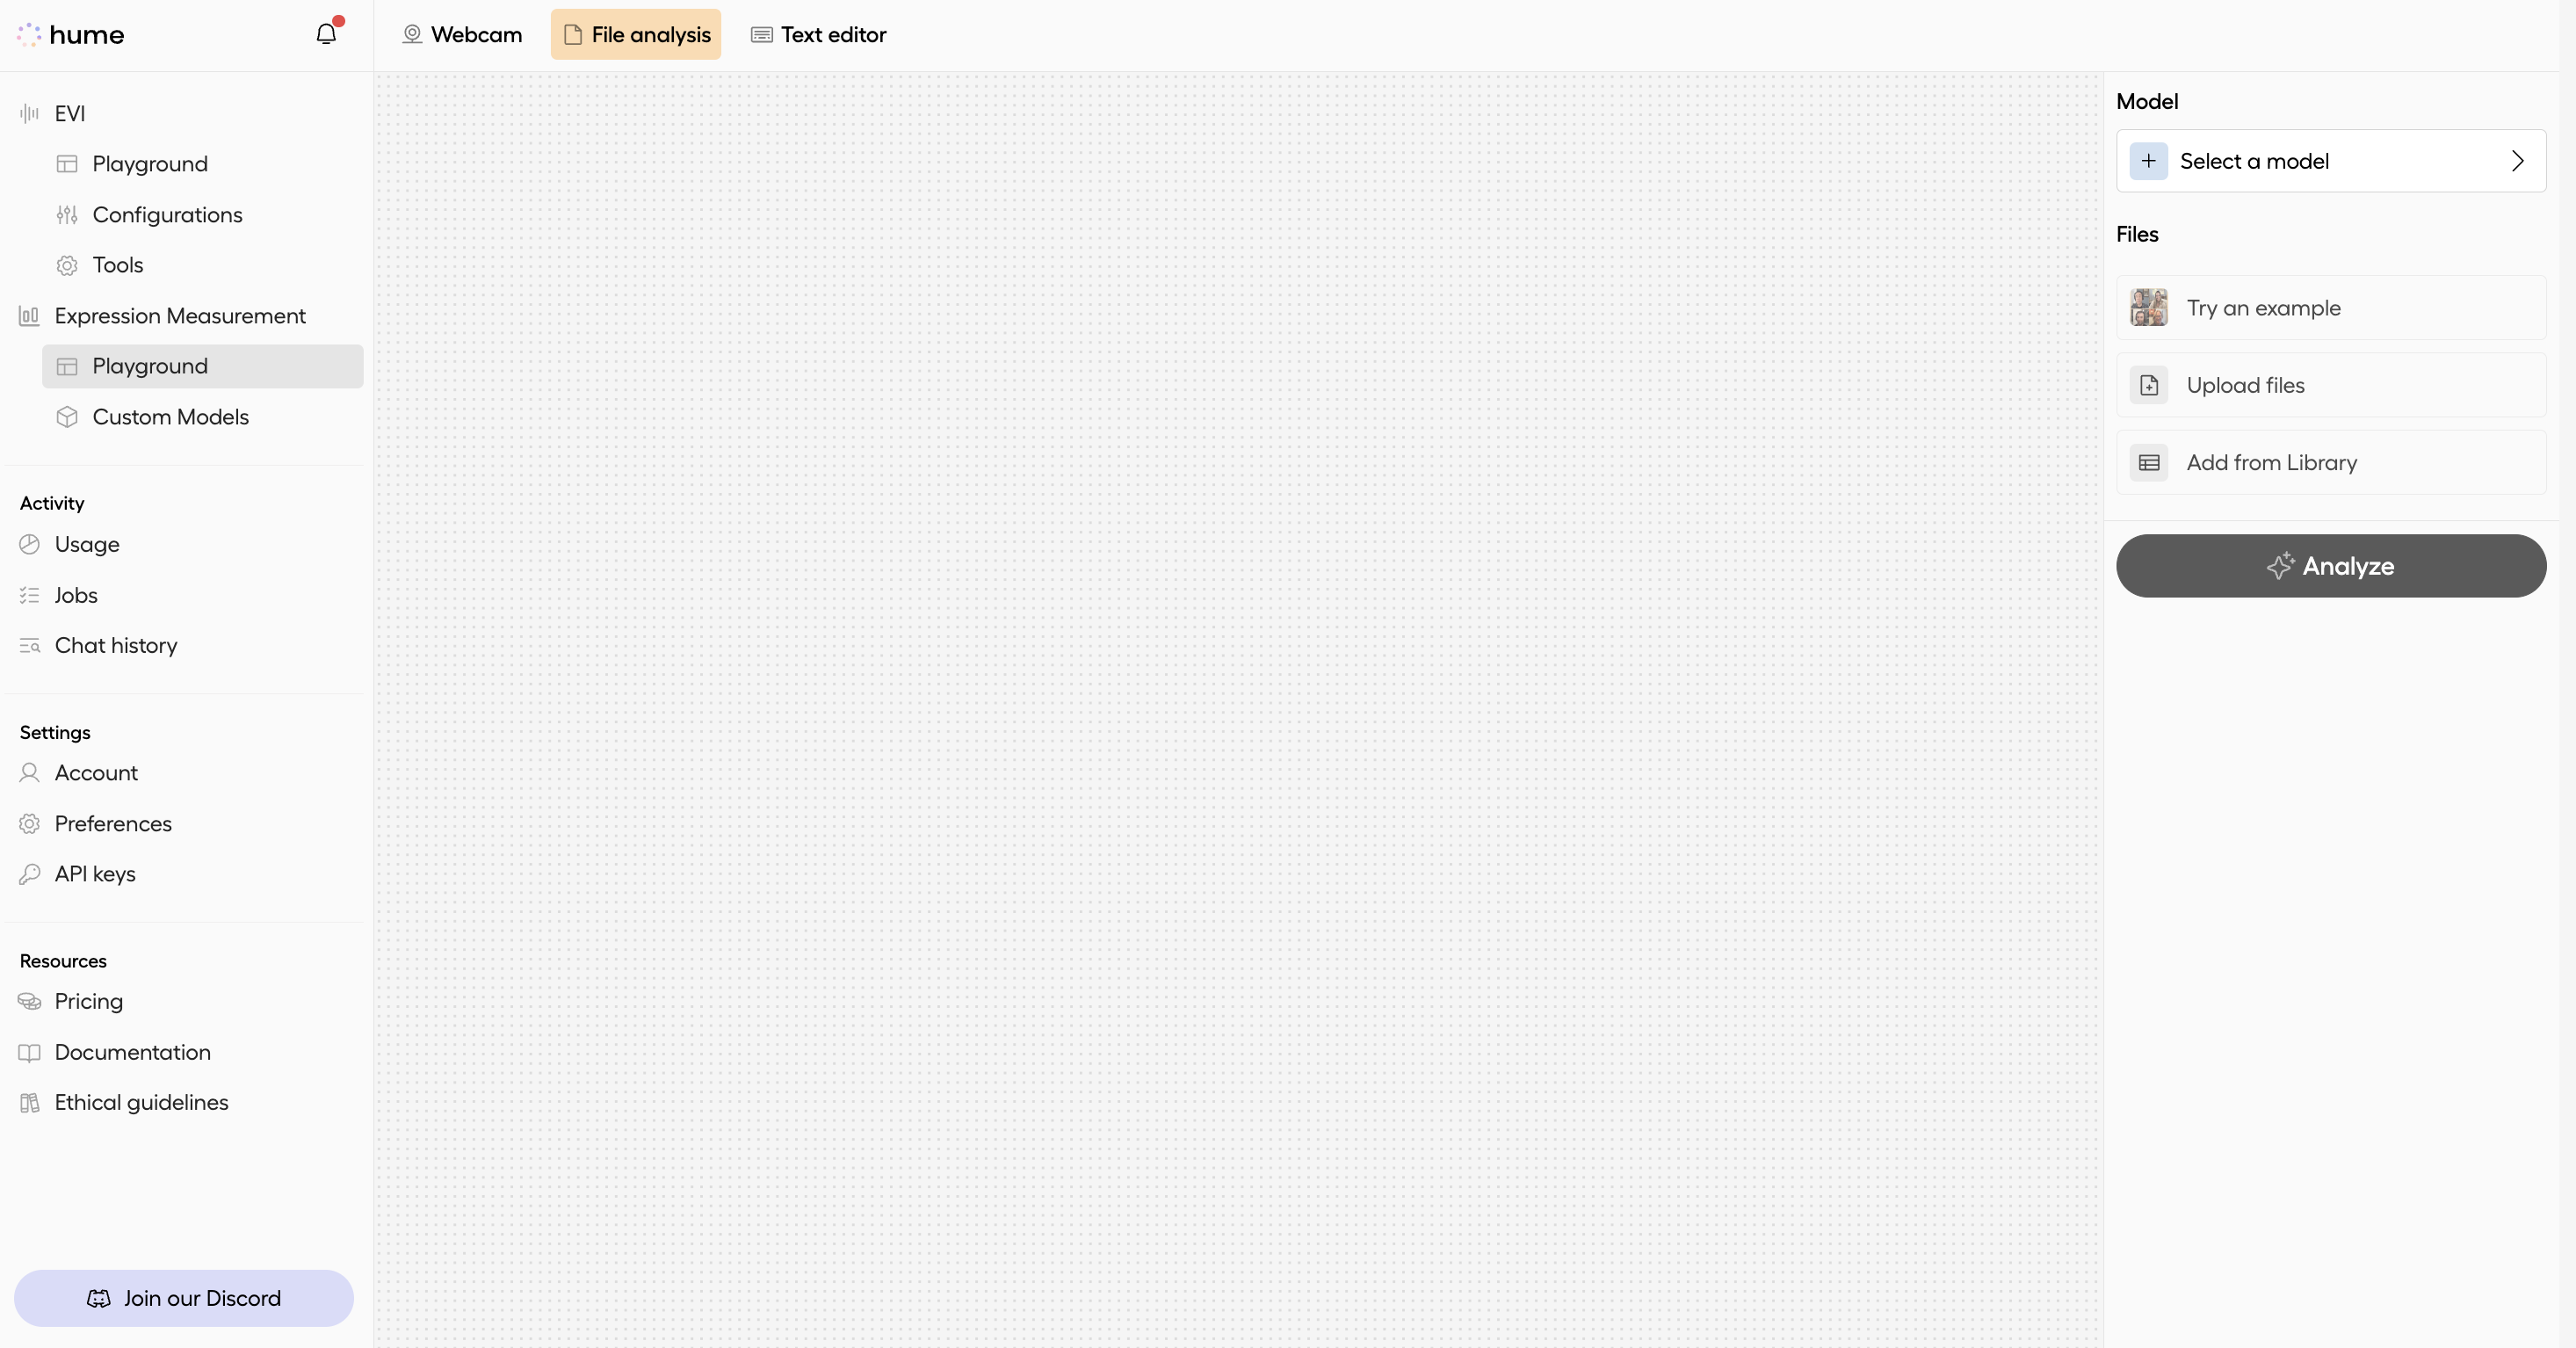
From the Select a model dropdown, choose the custom model you created from previous steps.
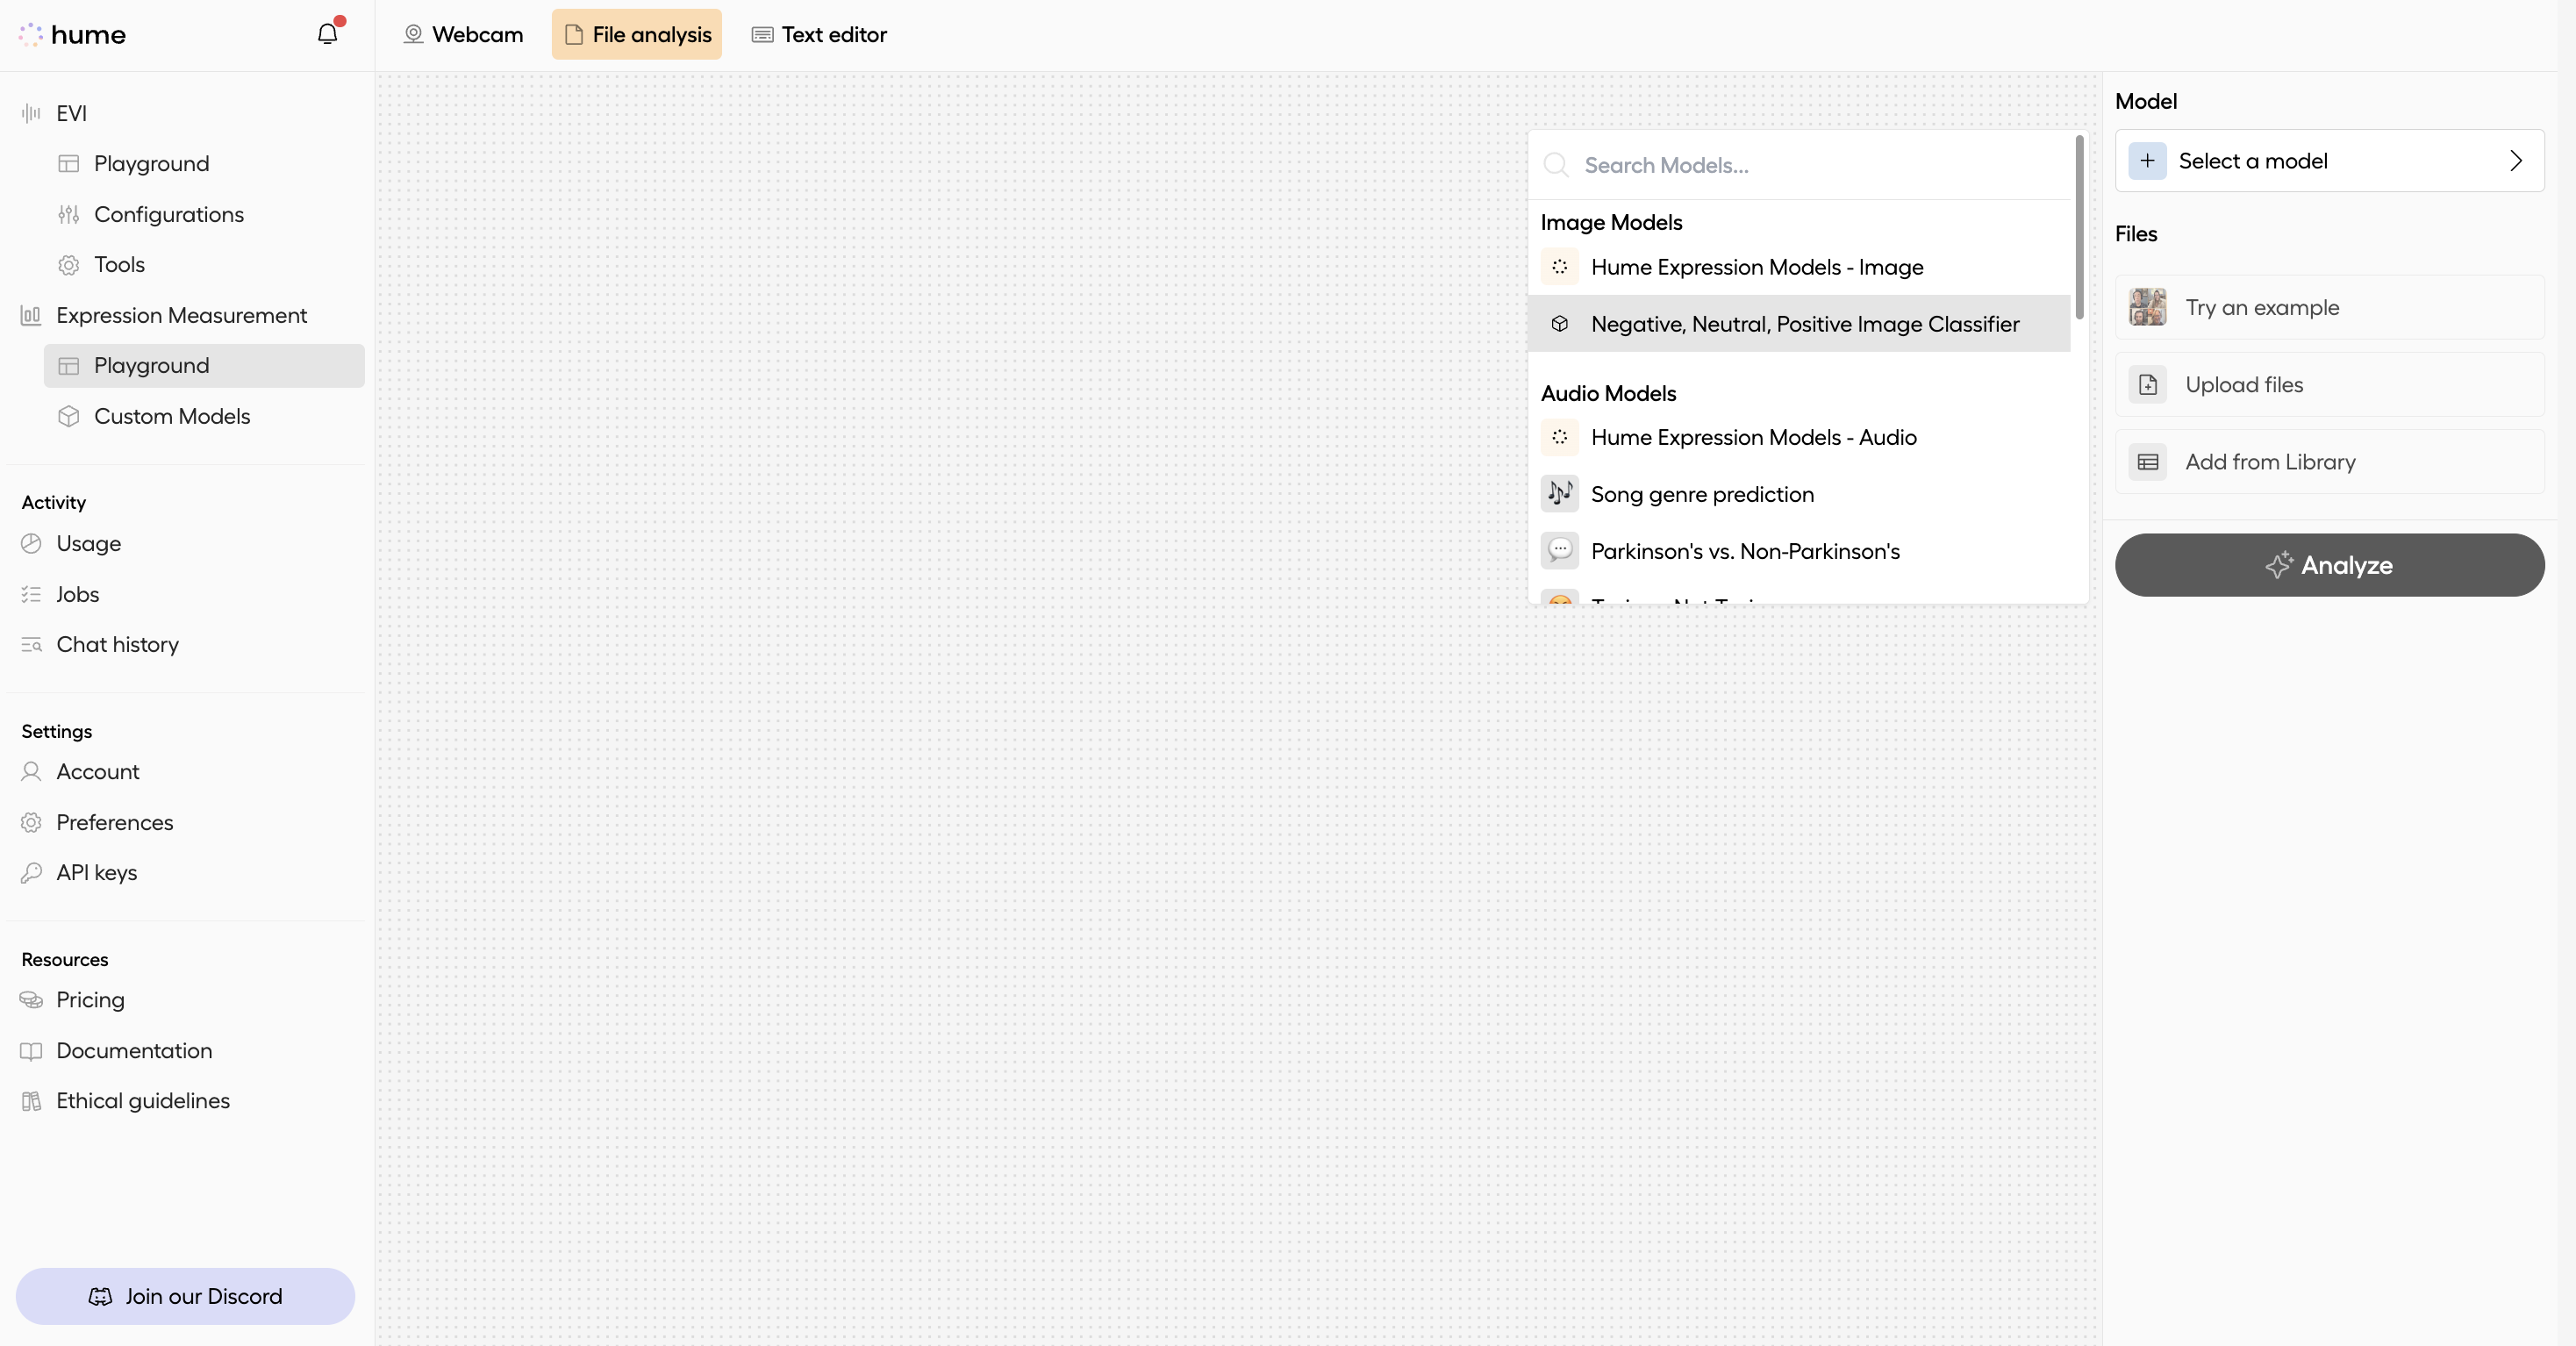
To select a file to analyze, click the Upload files button. You can upload local files, choose previously uploaded files in Hume, or use Hume’s example files to test your custom model.
Let’s test our custom model using one of the example files. Since our model is an image classifier, select an example image file to analyze.
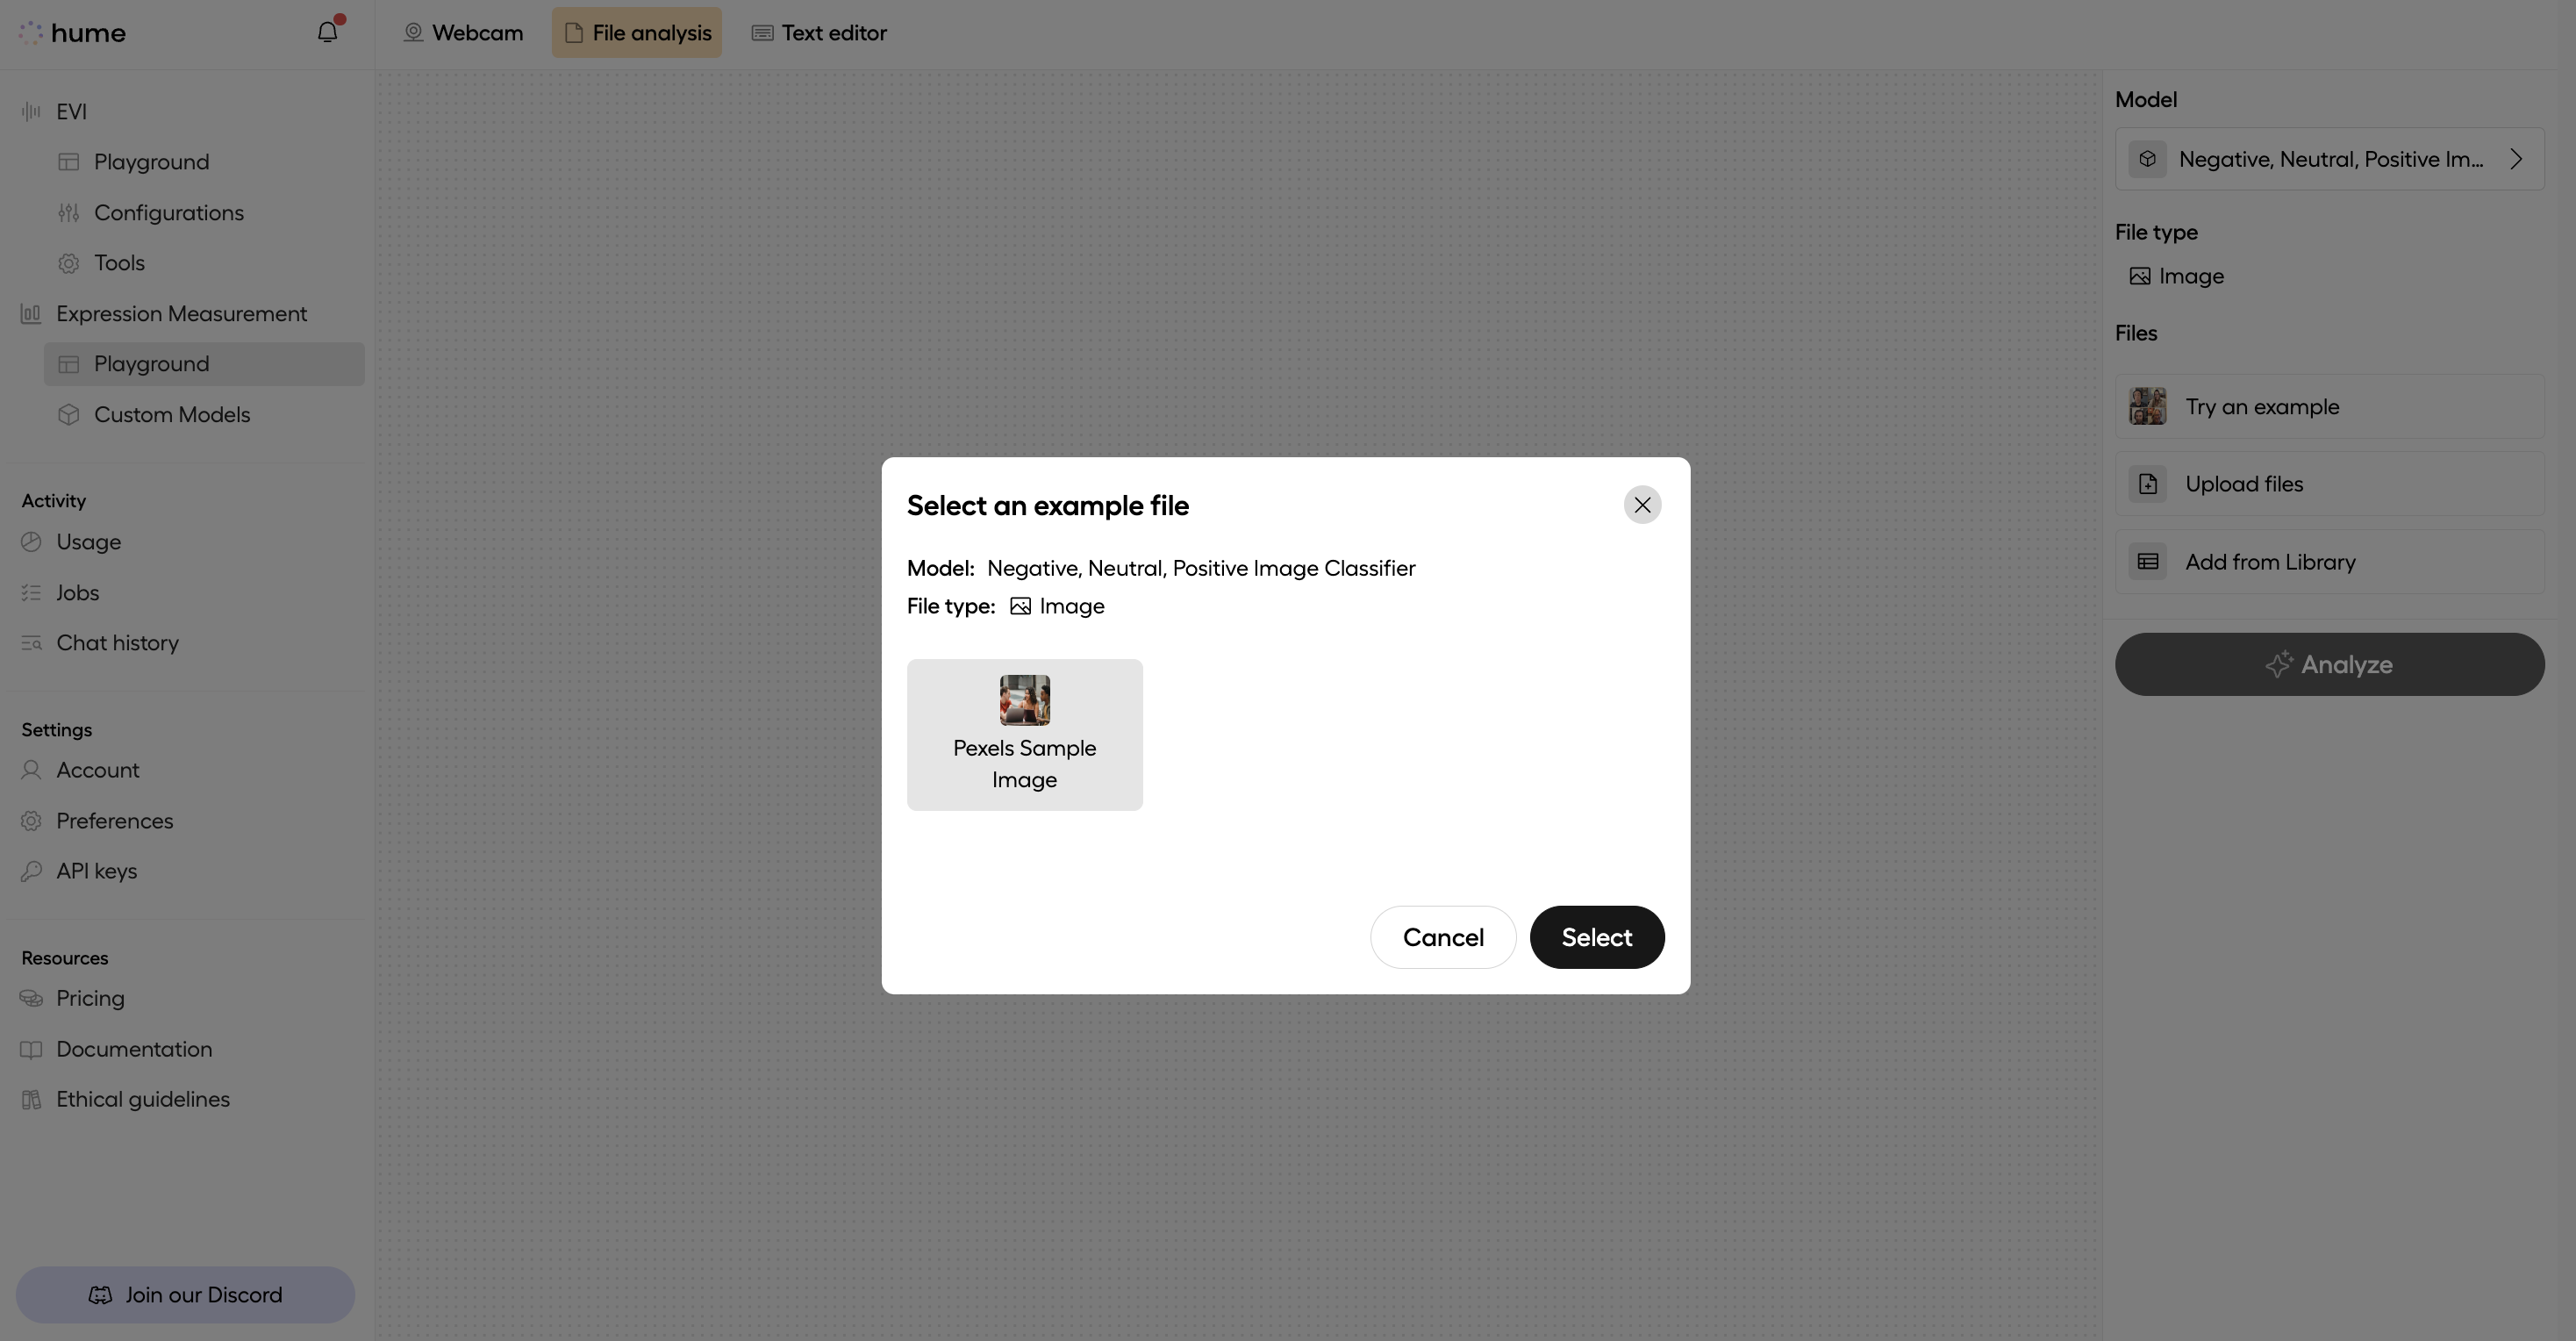
Click Analyze to analyze your selected file with the custom model.
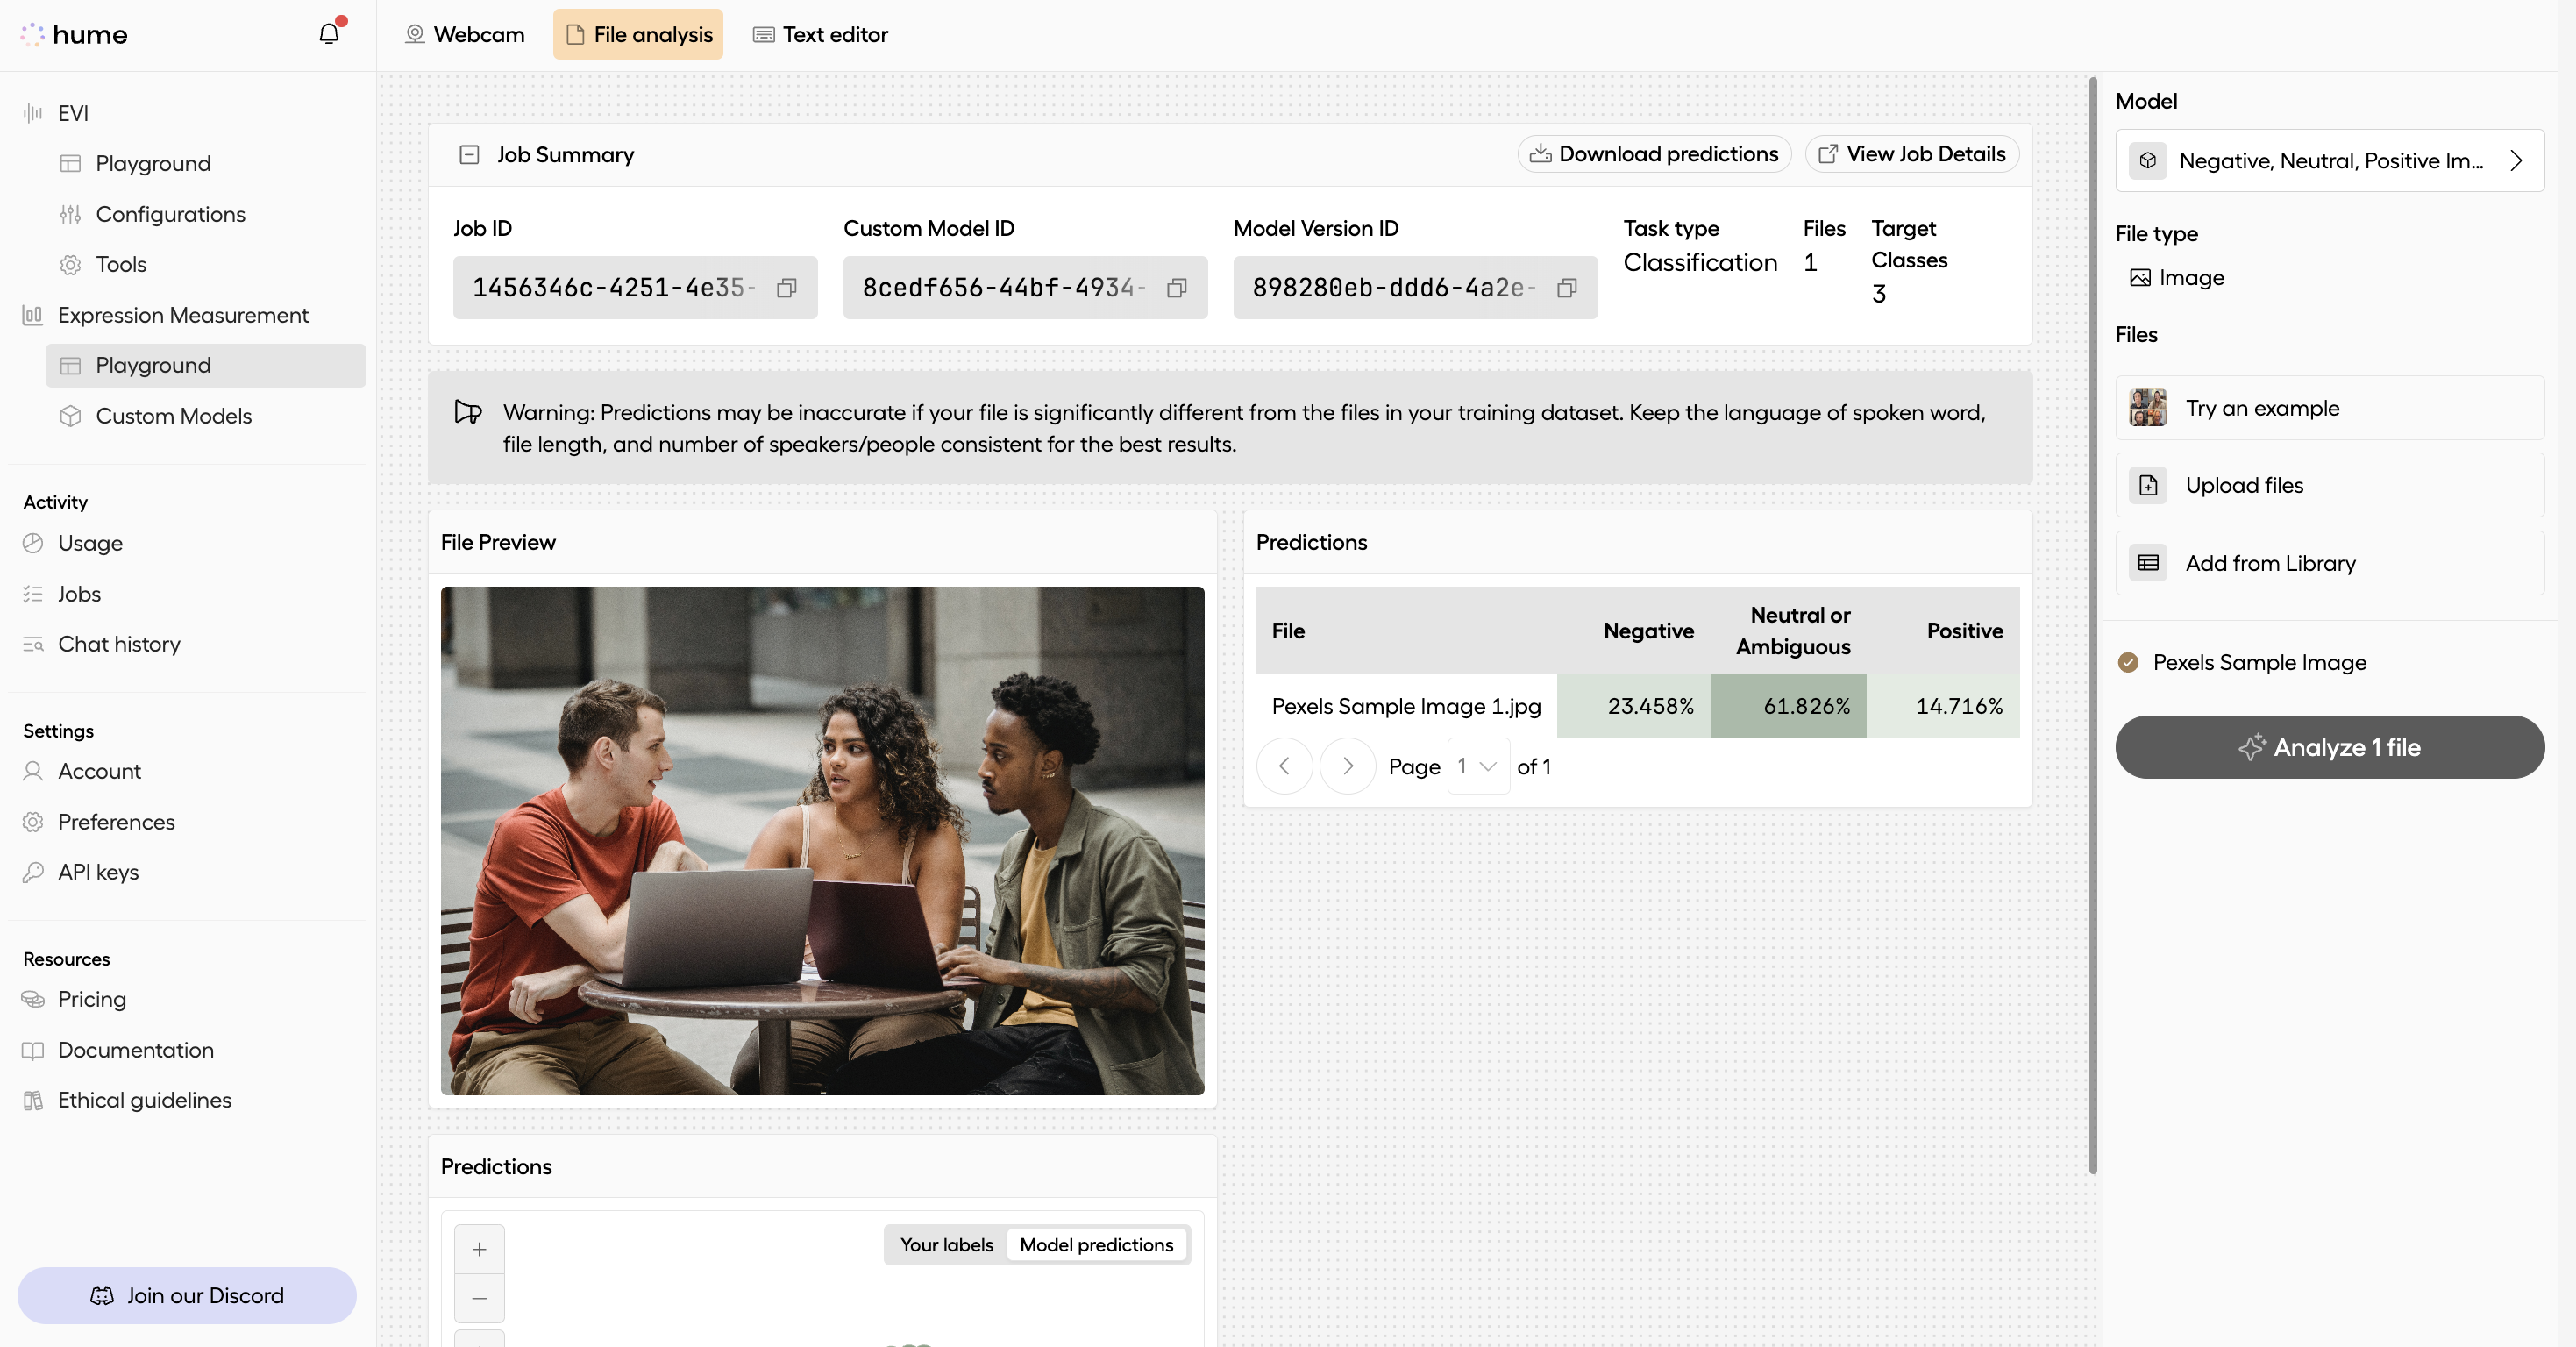
That’s it! You’ve successfully analyzed a file using your custom model. To evaluate its performance, see our guide on evaluating your custom model.

