Custom Language Model
To get started quickly, please see the custom language model example in our example GitHub repository.
Overview
The custom language model (CLM) feature allows you to use your own language model to drive EVI’s responses. When you configure a custom language model, EVI will send requests to your server with textual conversation history and emotional context. Your server is responsible for responding with the text that EVI should speak next.
A custom language model can be:
- A frontier model from an LLM provider like OpenAI or Anthropic “wrapped” with custom pre-processing or post-processing logic.
- A language model that you have trained and host yourself.
- Anything that produces text: it doesn’t have to be an LLM.
CLMs are appropriate for use cases that involve deep configurability, for example:
- Advanced conversation steering: Implement complex logic to steer conversations beyond basic prompting, including managing multiple system prompts or controlling all of the text outputs.
- Regulatory compliance: Directly control, post-process, or modify text outputs to meet specific regulatory requirements.
- Unreleased LLMs: Custom language models allow organizations to use non-public, proprietary LLMs for all the text generation while using EVI.
- Retrieval augmented generation (RAG): Employ retrieval augmented generation techniques to enrich conversations by integrating external data without the need to modify the system prompt.
You should prefer using context injection instead of a CLM for use cases that do not require deep configurability. When Hume connects to an upstream LLM provider directly, it covers the cost of usage, and this results in less latency compared to if Hume connects to your CLM which connects to an upstream LLM provider.
Set up the config
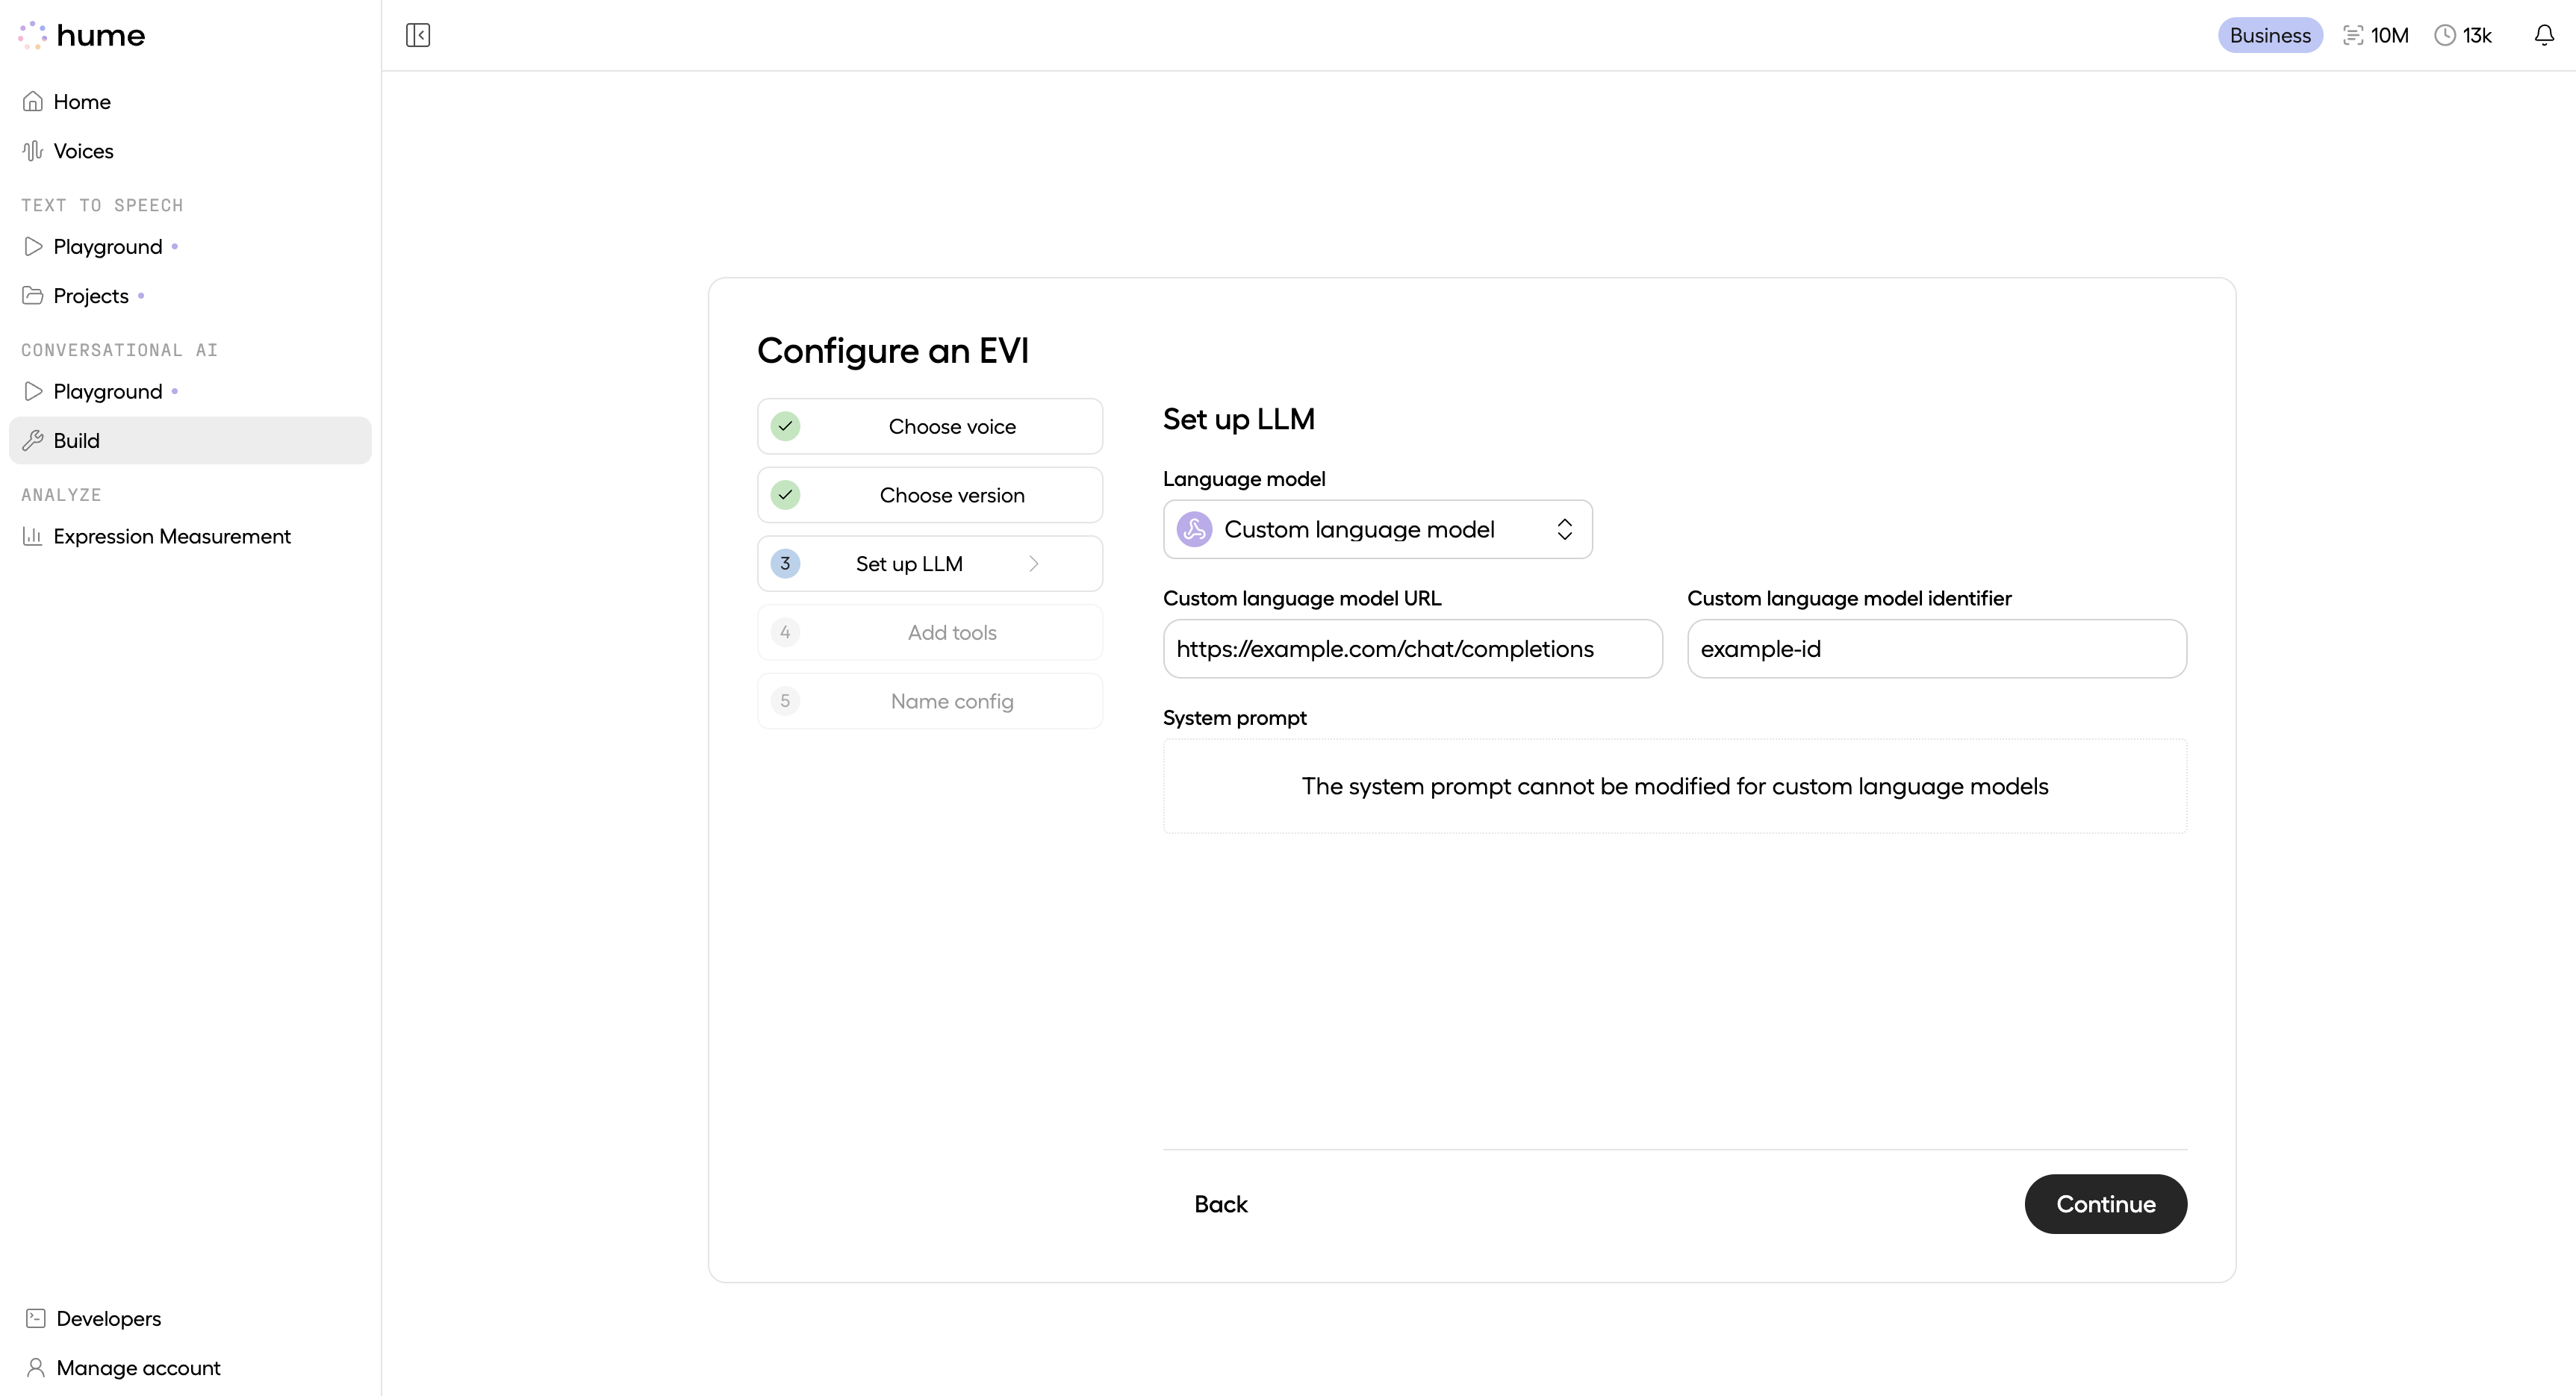
First, create a new config, or update an existing config and select the “custom language model” option in the “Set up LLM” step. Type in the URL of your custom language model endpoint. If you are using the SSE interface (recommended), the URL should start with https:// and end with /chat/completions. If you are using websockets, the URL should start with wss://. For SSE endpoints, you can optionally set the “Custom language model identifier” if your endpoint requires a specific model to decide behavior (e.g., if your backend expects an identifier like “gpt-5-mini”). The endpoint needs to be accessible from the public internet. If you are developing locally, you can use a service like ngrok to give your local server a publicly accessible URL.
Server-Sent Events
The recommended way to set up a CLM is to expose an POST /chat/completions endpoint that responds with a stream of Server-Sent Events (SSEs) in a format compatible with OpenAI’s POST /v1/chat/completions endpoint
Please reference the project in our examples repository for a runnable example.
What are Server-Sent Events?
Server-Sent Events describe a type of HTTP response that conforms to a certain web standard where
- There is a
Content-Type: text/event-streamheader. - The body is an “Event Stream”, i.e. it follows a specific format that breaks it up into discrete “events”.
- The body is transmitted in pieces, as events occur, rather than being buffered until it is complete and sent all at once.
- There is no
Content-Lengthheader, as the length of the entire response is not known in advance.
Because EVI expects the events to be in the same format as OpenAI’s chat completions, it is straightforward to a build a CLM that simply “wraps” an OpenAI model with preprocessing or postprocessing logic. More effort is required to build a CLM to wrap a model from a different provider: you will have to convert the output of your model to the OpenAI format.
OpenAI-compatible
Other provider
The following example shows how to build a CLM by “wrapping” an upstream LLM provided by OpenAI. The steps are:
- Listen for POST requests to
/chat/completions. - Parse the request and extract only the
roleandcontentfields from each message in the message history. (Hume also supplies prosody information and other metadata. In this example, we simply discard that information, but you might attempt to reflect it by adding or modifying the messages you pass upstream.) - Use the OpenAI SDK to make a request to the upstream OpenAI
POST /chat/completionsendpoint, passing in the message history and"stream": true. - Reformat the data from OpenAI into Server-Sent Events (while the OpenAI API originally sends data in the form of SSEs, the OpenAI SDK automatically unwraps them, and so to transmit the data back to Hume you have to rewrap it).
- Stream the SSEs back to Hume.
Testing your SSE endpoint
To verify that you have successfully implemented an OpenAI-compatible POST /chat/completions endpoint, you can use the OpenAI SDK but pointed at your server, not api.openai.com. Below is an example verification script (assumes your server is running on localhost:8000):
Providing an API Key
If your SSE endpoint requires an API key, send it in the language_model_api_key message using a session_settings message when a session begins:
This will cause a header Authorization: Bearer <your-secret-key-here> to be sent as a request header.
WebSockets
We recommend using the SSE interface for your CLM. SSEs are simpler, allow for better security, and have better latency properties. In the past, the WebSocket interface was the only option, so the instructions are preserved here.
Please reference the project in our examples repository for a runnable example.
To use a CLM with WebSockets, the steps are:
Set up an EVI config
Use the web interface or the /v0/evi/configs API to create a configuration. Select “custom language model” and provide the URL of your WebSocket endpoint. If you are developing locally, you can use a service like ngrok to give your local server a publicly accessible URL.
The chat starts
Next, your frontend (or Twilio, if you are using the inbound phone calling endpoint) will connect to EVI via the /v0/evi/chat endpoint, with config_id of that configuration.
EVI connects to your CLM WebSocket endpoint
EVI will open a WebSocket connection to your server, via the URL you provided when setting up the configuration. This connection is the CLM socket (as opposed to the Chat socket that is already open between the client and EVI).
EVI sends messages over the CLM socket
As the user interacts with EVI, EVI will send messages over the CLM socket to your server, containing the conversation history and emotional context.
CLM incoming message data format
Your server responds
Your server is responsible for sending two types of message back over the CLM socket to EVI:
assistant_inputmessages containing text to speak, andassistant_endmessages to indicate when the AI has finished responding, yielding the conversational turn back to the user.
CLM outgoing message data format
You can send multiple assistant_input payloads consecutively to stream text to the assistant. Once you are done sending inputs, you must send an assistant_end payload to indicate the end of your turn.
Custom Session IDs
For managing conversational state and connecting your frontend experiences with your backend data and logic, you should set a custom_session_id for the chat.
Using a custom_session_id will enable you to:
- maintain user state on your backend
- pause/resume conversations
- persist conversations across sessions
- match frontend and backend connections
There are two ways to set a custom_session_id:
- From the client: if your frontend connects to EVI via the
/chatWebSocket endpoint, you can send asession_settingsmessage over the WebSocket with thecustom_session_idfield set. - From the CLM endpoint: if your CLM uses the SSE interface, you can set the
custom_session_idas asystem_fingerprinton theChatCompletiontype within the message events. With WebSockets, you can include thecustom_session_idon theassistant_inputmessage. Use this option if you don’t have control over the WebSocket connection to the client (for example, if you are using the/v0/evi/twilioendpoint for inbound phone calling).
SSE
WebSocket
You only need to set the custom_session_id once per chat. EVI will remember the custom_session_id for the duration of the conversation.
After you set the custom_session_id, for SSE endpoints, the custom_session_id will be sent as a query parameter to your endpoint. For example POST https://api.example.com/chat/completions?custom_session_id=123. For WebSocket endpoints, the custom_session_id will be included as a top-level property on the incoming message.
If you are sourcing your CLM responses from OpenAI, be careful not to inadvertently override your intended custom_session_id with OpenAI’s system_fingerprint. If you are setting your own custom_session_id, you should always either delete system_fingerprint from OpenAI messages before forwarding them to EVI, or override them with the desired custom_session_id.