

Skip to navigation

Answering live audio

Run a Next.js app that answers questions about each 5 seconds of microphone audio as you speak.

Record the microphone in the browser and get answers about each 5 seconds of audio while you are still speaking. Clone this Next.js app to follow along, or fork it as a starting point.
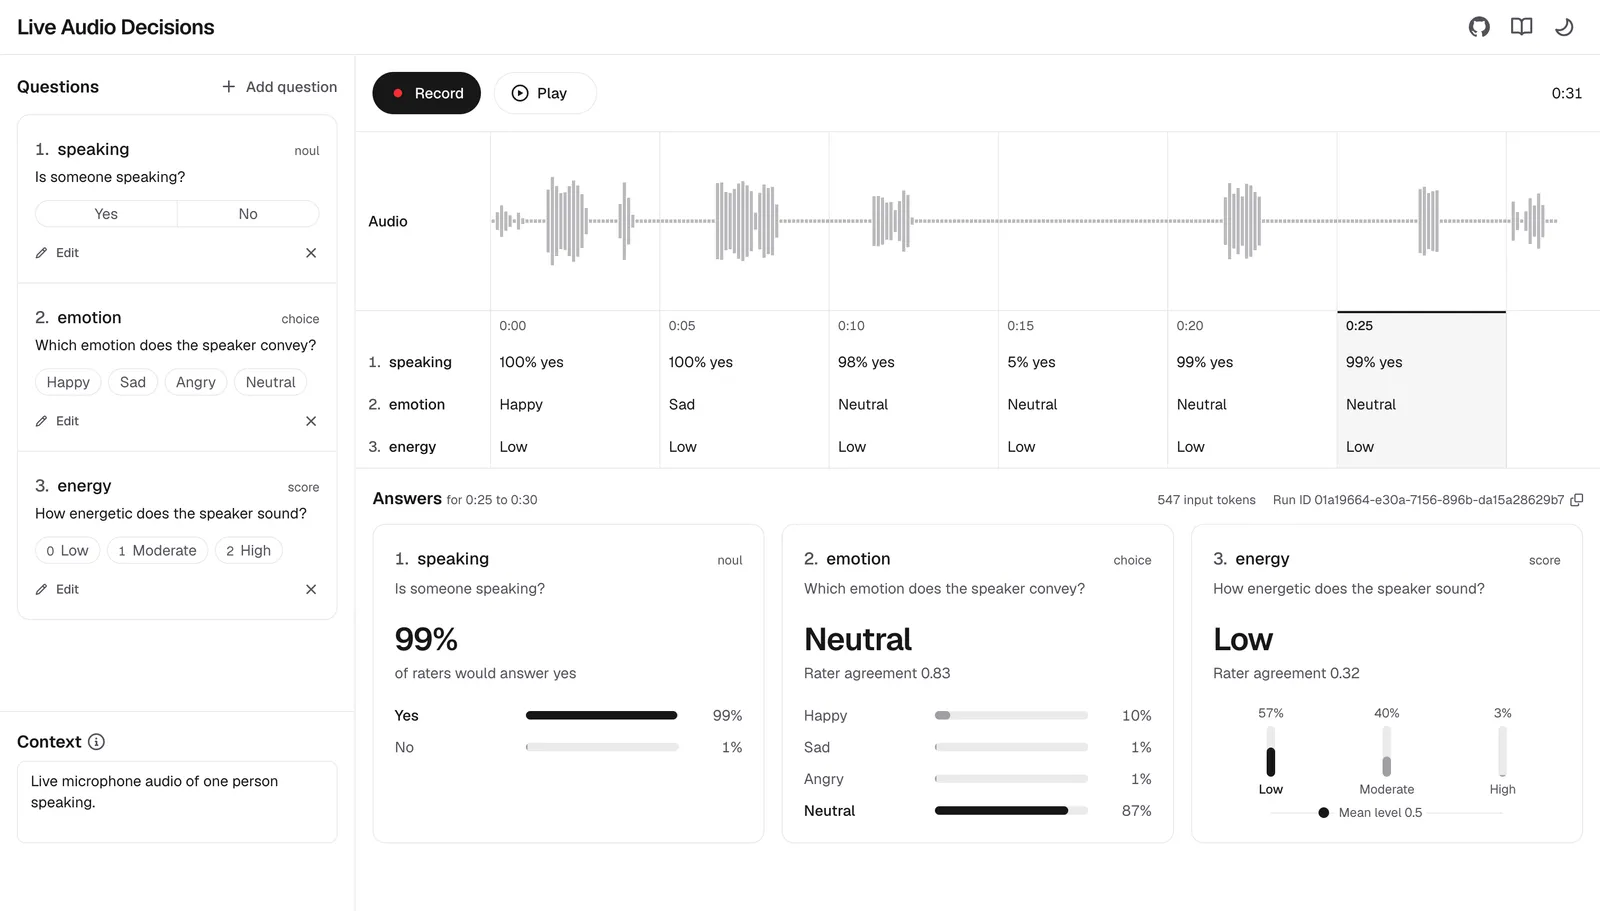
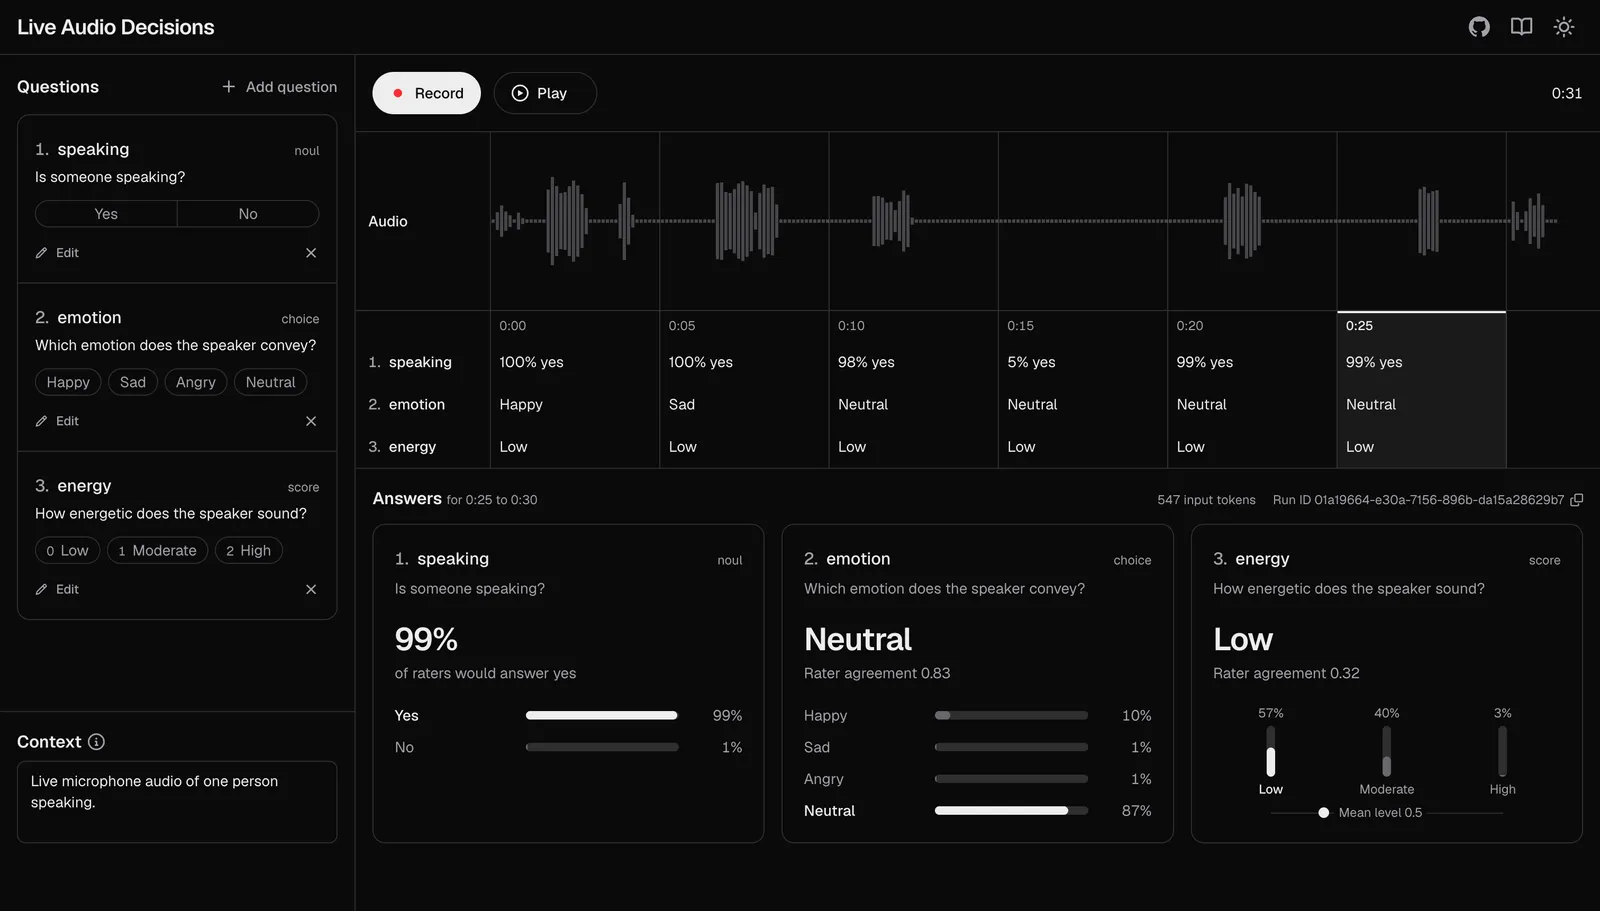
The app after a 31-second recording: the questions on the left, the waveform with each 5-second chunk's answers below it and the full answers for the selected chunk at the bottom.The app after a 31-second recording: the questions on the left, the waveform with each 5-second chunk's answers below it and the full answers for the selected chunk at the bottom.

By the end you will have the app running locally, and you will know how it captures and cuts the audio, how a server route sends each chunk and how the page shows the answers.

Repositoryhume-audio-decisions-next-js-live-example on GitHub
SDK@humeai/audio-decisions on npm
Node.js24 or later

Prerequisites

  1. Node.js 24 or later, and git.
  2. An API key from the API keys page of the Hume Platform. See Authentication.
  3. A browser and a microphone.

Run the example

Clone the repository and install its dependencies. If you use nvm, run nvm use before npm install to select the version in .nvmrc.

Shell
git clone https://github.com/HumeAI/hume-audio-decisions-next-js-live-example.git
cd hume-audio-decisions-next-js-live-example
npm install

Copy the example environment file.

Shell
cp .env.example .env.local

Set your API key in .env.local. Next.js sends a variable to the browser only when its name starts with NEXT_PUBLIC_, so the key stays on the server. A HUME_API_KEY exported in your shell takes precedence over the file.

.env.local
HUME_API_KEY=your_api_key

Start the development server and open http://localhost:3000.

Shell
npm run dev

Press Record and speak, and allow microphone access when the browser asks. Answers appear under the waveform every 5 seconds. Press Stop, then click a chunk to see its answers in full, or press Play to replay the recording. Between recordings, edit the questions and the optional Context in the left panel.

How it works

  1. Build the request

    1. The app asks noul, choice and score questions. A span answer lists times within the file, which have no single value to show on a timeline of 5-second chunks, so the app’s question type leaves it out.

    2. buildRequest turns the questions and context into the request part when recording starts, and every chunk of the recording sends that same request. An answer can change when other questions are added, removed or reordered, so a fixed request keeps the answers comparable from chunk to chunk.

  2. Capture the microphone

    1. The page asks for one channel with echo cancellation, noise suppression and automatic gain control turned off. Browsers apply these to voice by default, and they change qualities that questions ask about, such as background noise and loudness.

    2. An AudioWorklet in public/audio-block-worklet.js gathers the input into blocks of 125 ms, and each block reaches onAudio with its sample rate. The worklet writes no output, so connecting it to the destination keeps it running without playing the audio back.

  3. Cut 5-second chunks

    1. Each chunk is 5 seconds, the shortest audio the API accepts. A recording stops after 5 minutes, which limits the requests a forgotten tab sends.

    2. createChunker collects blocks until they add up to 5 seconds, then returns them as one chunk with its start and end time in the recording. useRecorder in hooks/use-recorder.ts sends each chunk as soon as it is cut, without waiting for earlier answers, so a slow answer never holds up the next chunk. Audio after the last full chunk is kept for playback but never sent.

  4. Encode and send the chunk

    1. The model hears audio as one channel at 16 kHz, so askDecisions resamples the chunk to 16 kHz with the browser’s own resampler and encodes it as 16-bit WAV. A 5-second chunk is then about 160 KB, a third of its size at 48 kHz.

    2. The WAV file and the request part go to the app’s own route, /api/decisions, as multipart/form-data, so the browser never holds the API key. A failed response becomes an error with the route’s message. The timeline marks the chunk as failed, and the Answers panel shows the message when that chunk is selected.

  5. Call the API from the server

    1. new DecisionsClient() reads HUME_API_KEY from the server’s environment, and decisions.create sends the file and the request to the API. The browser’s abort signal is passed on, so starting a new recording cancels the API calls still running for the old one.

    2. Every failure goes back to the page as { message }, with the API’s own message when the API returned the error. See Errors.

  6. Show the answers

    1. The timeline shows a short label for each answer: the share of raters who would answer yes to a noul question, the choice option with the largest share of raters and the score level with the largest share.

    2. scoreLevels picks the level with the highest probability rather than the level nearest the mean score, because raters split between both ends of a scale give the same mean as raters who agree on the middle level. See Interpreting answers.

import type { Decisions } from "@humeai/audio-decisions";
// Span questions answer with time ranges rather than a single value, so
// they have no place on a timeline of 5-second answers.
export type LiveQuestion = Exclude<
Decisions.Question,
Decisions.Question.Span
>;
// ...
/** The `request` part sent with every chunk of a recording. */
export function buildRequest(
questions: NamedQuestion[],
context: string,
): Decisions.DecisionsRequest {
return {
context: context.trim() || undefined,
questions: Object.fromEntries(
questions.map(({ id, question }) => [id, question]),
),
};
}

Adapt it to your app

  1. Change the questions. The default questions and context are DEFAULT_QUESTIONS and DEFAULT_CONTEXT in lib/questions.ts. To try a question before you change the code, add it in the app’s question panel. The app keeps your edits to the questions and context for the browser tab, so open a new tab to see changed defaults. See Writing questions.
  2. Choose a chunk length. CHUNK_MS in lib/recording.ts sets it. The default of 5 seconds is the shortest the API accepts and answers soonest. Longer chunks send fewer requests and give each answer more audio to judge. Blocks are never split, so a chunk can run up to 125 ms past CHUNK_MS. Keep CHUNK_MS at least that far below 5 minutes, the longest audio the API accepts. At 5 seconds a recording sends 12 requests a minute, and every API key in your organization shares a limit of 60 requests a minute. See Limits.
  3. Act on the answers. Each chunk’s answers arrive in sendChunk in hooks/use-recorder.ts, as the response of a chunk whose status is answered. Compare an answer with a threshold there to act on it, such as flagging a chunk where the speaker sounds angry. See Interpreting answers.
  4. Use a different audio source. openMicrophone hands useRecorder 125 ms blocks of mono samples with their sample rate, calls onEnded when the stream ends and returns the sample rate with a close function. Any source that does the same, such as the audio of a call, can replace it, and the chunking and requests stay as they are.
  5. Before you deploy. The route has no sign-in, so anyone who can reach it can spend your API key. npm run dev accepts connections from other devices on your network, and npm run dev -- -H localhost limits it to your own machine. Add authentication to the route before you deploy it.

Next steps